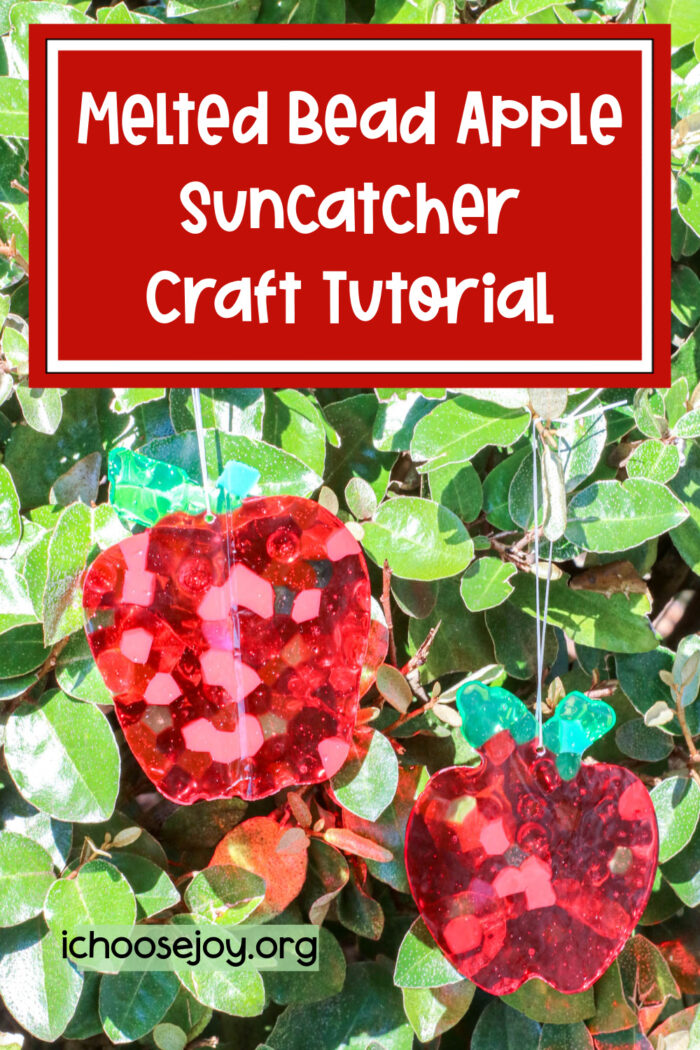
Melted Bead Apple Suncatcher Craft Tutorial
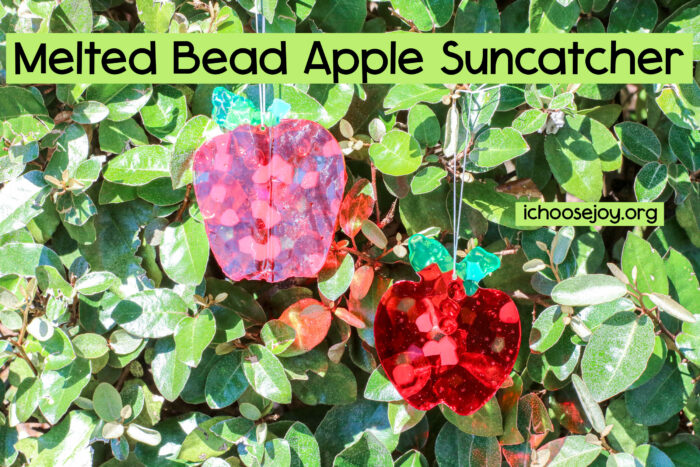
This melted bead apple suncatcher is a fun and easy craft that is perfect for homeschoolers, moms, and elementary teachers. It is a great way to use up leftover beads and create a beautiful piece of art that can be enjoyed for years to come. Enjoy this craft tutorial with step-by-step process photos and tips.
Disclosure: I get commissions for purchases made through affiliate links in this post.
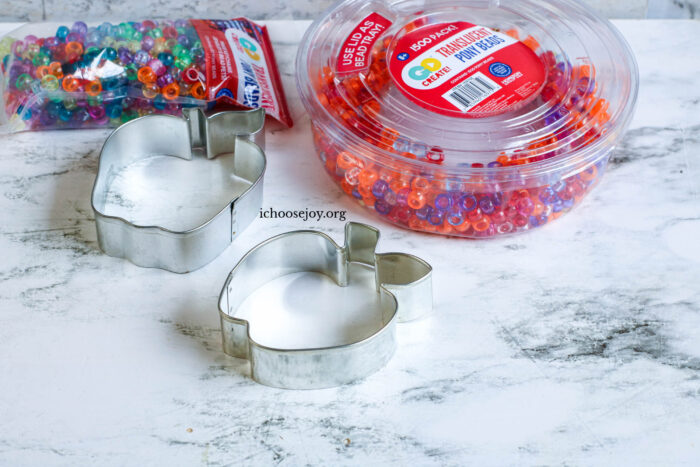
Supplies for Melted Bead Apple Suncatcher Craft Tutorial
- Plastic pony beads
- Metal cookie cutter (apple-shaped or whatever shape you'd like to make)
- Baking pan
- Aluminum foil
- String, yarn, or fishing line.
- Drill fitted with small drill bit, optional
Note: Please be aware that the beads do release plastic smells/fumes as they melt. To avoid the smell, you can use a toaster oven outside.
Instructions for Melted Bead Apple Suncatcher Craft
- Preheat oven to 400 degrees.
- Line baking pan with aluminum foil to protect the pan and make it easier for the suncatcher to release from the pan.
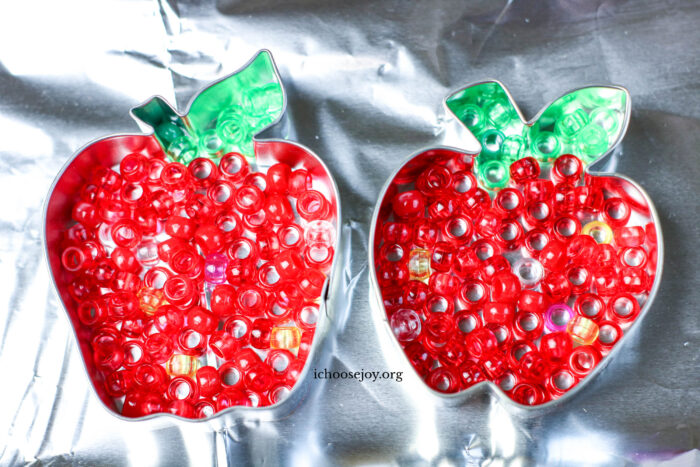
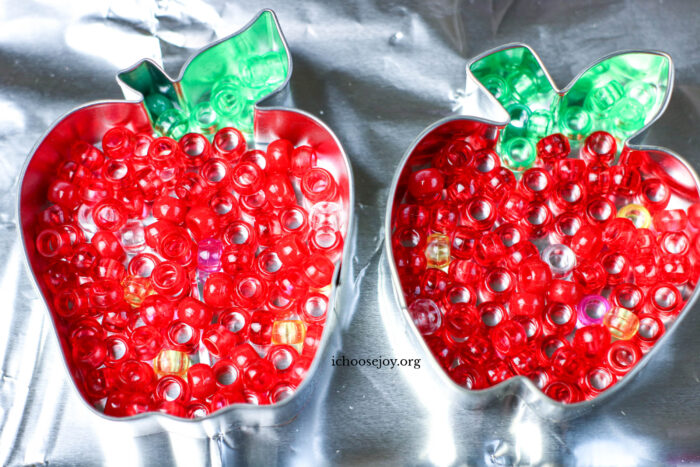
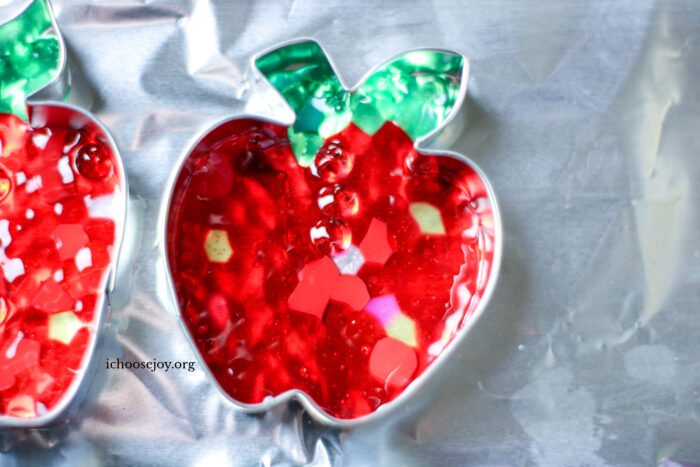
- Place cookie cutters on aluminum foil in baking pan. Fill each cookie cutter with a single layer of beads. Use a toothpick or bamboo skewer to arrange the beads.
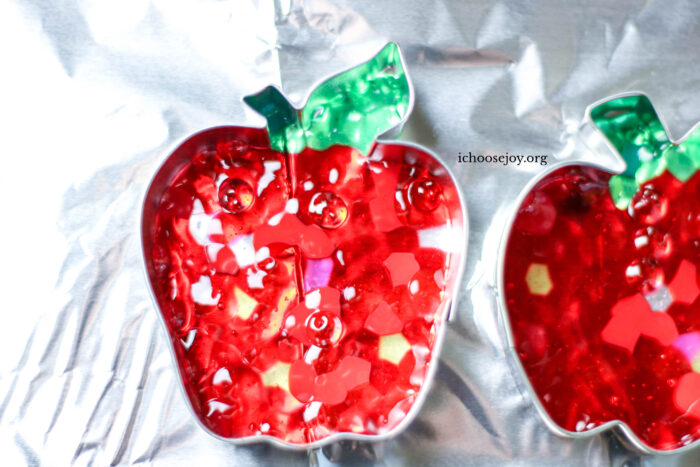
- Carefully put the baking sheet in the oven and melt the beads. The time can vary based on the type of bead. Begin checking at 5 minutes. (My suncatchers took 15 minutes to melt.) The Melted Bead Apple Suncatcher are ready when the beads are melted and the hole in each bead has disappeared.
- Remove from oven and allow to cool completely prior to removing from the cookie cutters. To remove the suncatchers, gently pull the sides of the cookie cutter away from the suncatcher.
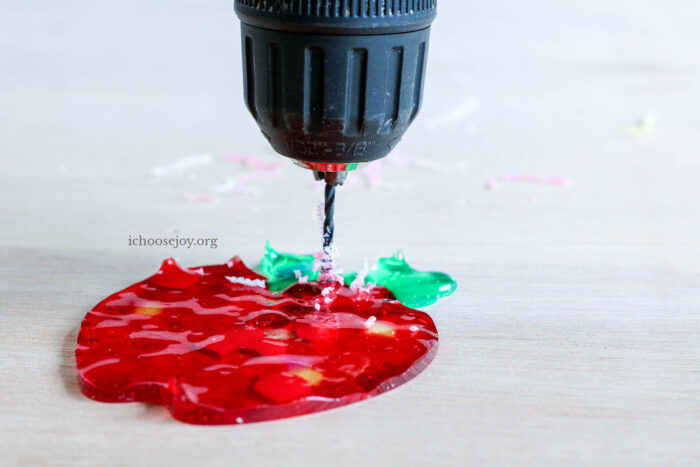
- If desired, use the drill to create a small hole in each Melted Bead Apple Suncatcher for hanging. Alternatively, you can use a glue gun to attach the string or tie it around the stem.
To extend this educational activity, use this Free Printable Apple Lined Paper.
And, here's a fun apple name craft.
Tips:
- If you want to add a stem to your apple, you can use a green Perler bead or a piece of green pipe cleaner.
- If you want to make your suncatcher extra sturdy and don't need it to filter the sun through, you can glue a piece of cardboard to the back of it.
- You can also use this same technique to make other fruits, vegetables, or shapes. Match it to your homeschool lessons!
- Do different shapes for different holidays of the year: pumpkins for Halloween, hearts for Valentines Day, etc.
- Create Christmas ornaments using the same techniques.
Educational Benefits:
This melted bead apple suncatcher is a great way to teach children about colors, shapes, and patterns. It is also a good way to develop their fine motor skills and creativity.
Teach about Apples and Apple Trees:
This craft can be used as a fun and educational activity for your students. It is a great way to teach them about colors, shapes, patterns, and fine motor skills. It can also be used to introduce them to different science topics, such as the life cycle of an apple or the different types of fruits and vegetables that are grown around the world.
Rainy Day Activity:
The Melted Bead Apple Suncatcher craft is a great way to spend time with your children and create a beautiful piece of art that you can both enjoy. It is also a good way to keep your children entertained on a rainy day.
Conclusion:
This melted bead apple suncatcher is a fun and easy craft that is perfect for homeschoolers, moms, and elementary teachers. It is a great way to use up leftover beads and create a beautiful piece of art that can be enjoyed for years to come. And, it could also be done as a ministry or service project to deliver to nursing homes or hospitals.
Related Posts:
- FALL Music for Holidays & Special Days for Elementary
- 35+ Winner Meals for Fall
- How to Make a Clove Apple (from Little House books)
- Crock-Pot Apple Butter Tutorial
- 15-Minute Music Lesson on Grieg and Peer Gynt

