How to Teach Art in the Homeschool or Co-op
[Today we have a guest post from Michelle Habrych about How to Teach Art in the Homeschool or Co-op.]
When my daughter was three, I knew I had a budding artist on my hands. She was drawing everywhere on every piece of paper she could find. She drew horses with eleven legs, butterflies with smiley faces, and people with leprosy (after a memorable lesson in Sunday School). I knew I wanted her to learn more about art.
Disclosure: I get commissions for purchases made through affiliate links in this post.
What I didn’t know was how to teach her about art, especially when I felt my own drawing skills to be inadequate. At that time, we had joined a homeschool co-op and there was an art class offered. They allowed my little girl in the class, but I had to purchase a lot of art supplies, plus pay a class fee to the teacher, who was a professional artist. I liked the teacher, but I didn’t feel the projects were on my daughter’s level, and at the end of the school year, we were left with a bunch of expensive supplies that were unused.
Then I opened my mouth to the other moms at our group and said, “I can teach an art class next year for less money than this cost us, including supplies, and the projects will match the kids’ skill level.”
What was I thinking?
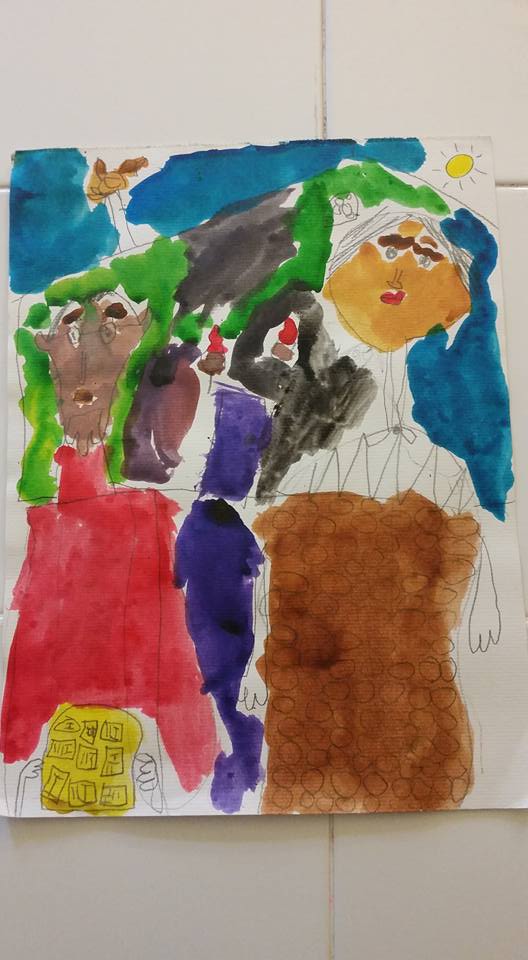
How to Teach Art in the Homeschool or Co-op:
On my bookshelf I had Art The Usborne Art Treasury by Rosie Dickins. The idea seemed to blossom from there: teach the kids something about the famous artist and then try a project in the style of the artist.
We had a 24-week school year at the homeschool group, so I took some of the project ideas from that book and combined them with ideas from MaryAnn Kohl’s Discovering Great Artists: Hands-On Art for Children in the Styles of the Great Masters.
Each student was given a class folder, which included some bullet-point information I gathered from those two books, the internet, and other library books, including Mike Venezia’s very funny Getting to Know the World's Greatest Artists book series. I wanted the students to realize that these artists were real people, just like us. If there were details about them as children, I always included that. I also made a point to include some of the wackier facts, such as the fact that Salvador Dali liked to arrive to events in a limousine filled with cauliflower. For a long time after learning that, if we saw a limo somewhere, my daughter would joke that maybe Dali was in it. The sheets also included examples of some of the artist’s most famous works.

Coloring Sheets and Maps:
The student folder also included a coloring sheet for each artist, whenever I was able to find them. I gathered coloring sheets from the Dover coloring books, including Art Masterpieces to Color, as well as from searching the internet. I thought this would be a nice addition to hearing the information. If the students had time in class after finishing their projects, they could color in the famous painting. If not, they would have it to take home after class was finished.
Maps were included in the class folder as well. I wanted the students to be familiar with the world, even at that young age, and locate on the map the artist’s country of birth. One thing they noticed through this exercise was how many famous artists were from European countries, especially France and Italy.
During the lesson, I showed examples of the artist’s work (using books checked out from the library) as I told the students about the artist. I’d have them find the artist’s home country on the map. Then we would try a project together. The entire class period was 55 minutes, including clean-up time.
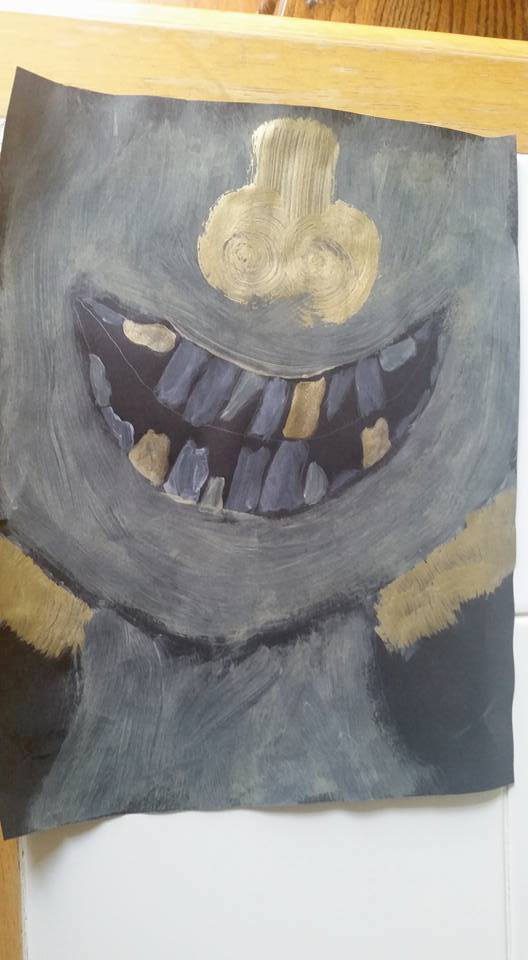
The Art Projects:
The projects were simple but related to each artist’s famous works: tissue paper water lilies for Monet, pipe cleaner mobile for Calder, and a student favorite—splatter painting for Pollock. I chose not to try to teach how to draw something, but rather to let them attempt to make each project their own masterpiece.
The next year, another mom asked if I would continue teaching and add a class for her third-grade child. Eventually, I would teach three different classes in one year, for different ages, using the same basic curriculum, with ideas from these books, as well as my own and Pinterest.
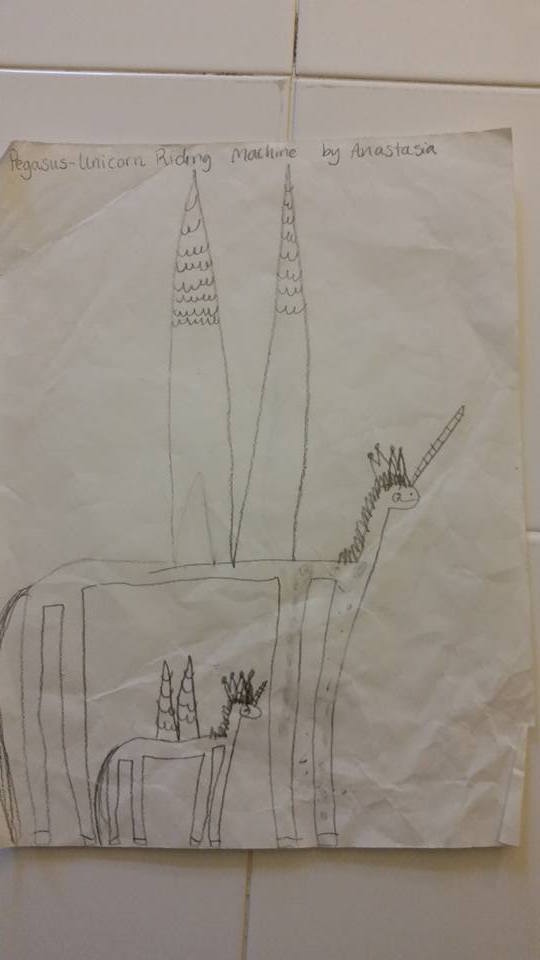
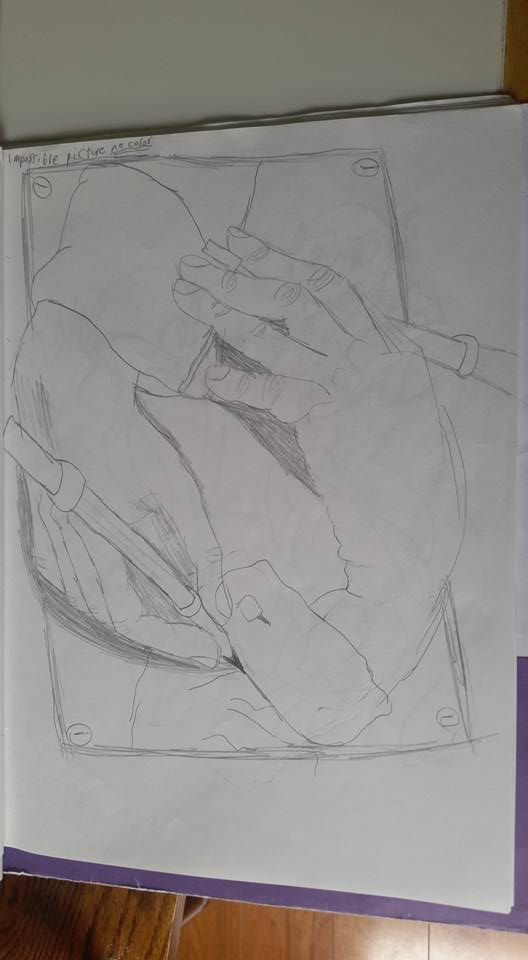
That first class was nine years ago. I have since passed along my materials to another set of moms to teach the class at our homeschool group. My daughter is now 13 and has progressed in her art skills far beyond my class level. I seek outside help to develop her skills. The information she learned in these classes, however, has stayed with her through the years. And her favorite artist is still Dali.
Free Download: Best Classes to Teach at a Homeschool Co-op
Contributor Bio:
Michelle Habrych has been homeschooling her two kids for the past decade. In the process of teaching art, Michelle found a passion she did not know she had. Her favorite artists are Monet, Picasso, and Van Gogh, but she loves all Impressionists. She and her two teens enjoy visiting the local art museums once or twice a year, as well as sketching at the local botanical gardens. (Update: Michelle's son and daughter have now graduated from her homeschool high school, and her daughter is attending art school.)
Related Posts:
- Charlotte Mason Inspired High School Fine Arts
- Alternatives to a Traditional Homeschool Co-op
- How to Teach a High School English Survey Class at a Homeschool Co-op
- How to do an Ancient Greek Tragedy with your Homeschool Co-op
- How to Add Music to Your Homeschool Co-op
- The Best Classes to Teach at a Homeschool Co-op
- 5 Reasons to Join a Homeschool Co-op





This looks way more fun than our art lessons when I was a kid!
If you kids like to color or like puzzles they might like free printable coloring pages you can download here:
https://amazingwizkids.com/four-reasons-why-your-kids-should-be-viewing-the-classics-right-now/
Coloring pages are Van Gogh & the puzzles are Matisse & other artists