Busy Bag Swap, Part 1
A few nights ago I participated in a Busy Bag Swap. Busy Bags are gallon-sized baggies containing a fun (usually educational) activity for a preschooler or younger elementary-aged child. Each of the ladies in the swap made one activity times 23 for each of us to fill up a box of busy bags for our homes. Some ladies wanted two sets so they made two separate activities.
We've already gone through the fun things to do. What's exciting to me is that the various activities appeal to the different ages in my home. I'll be sharing pictures of them all in the next few days.
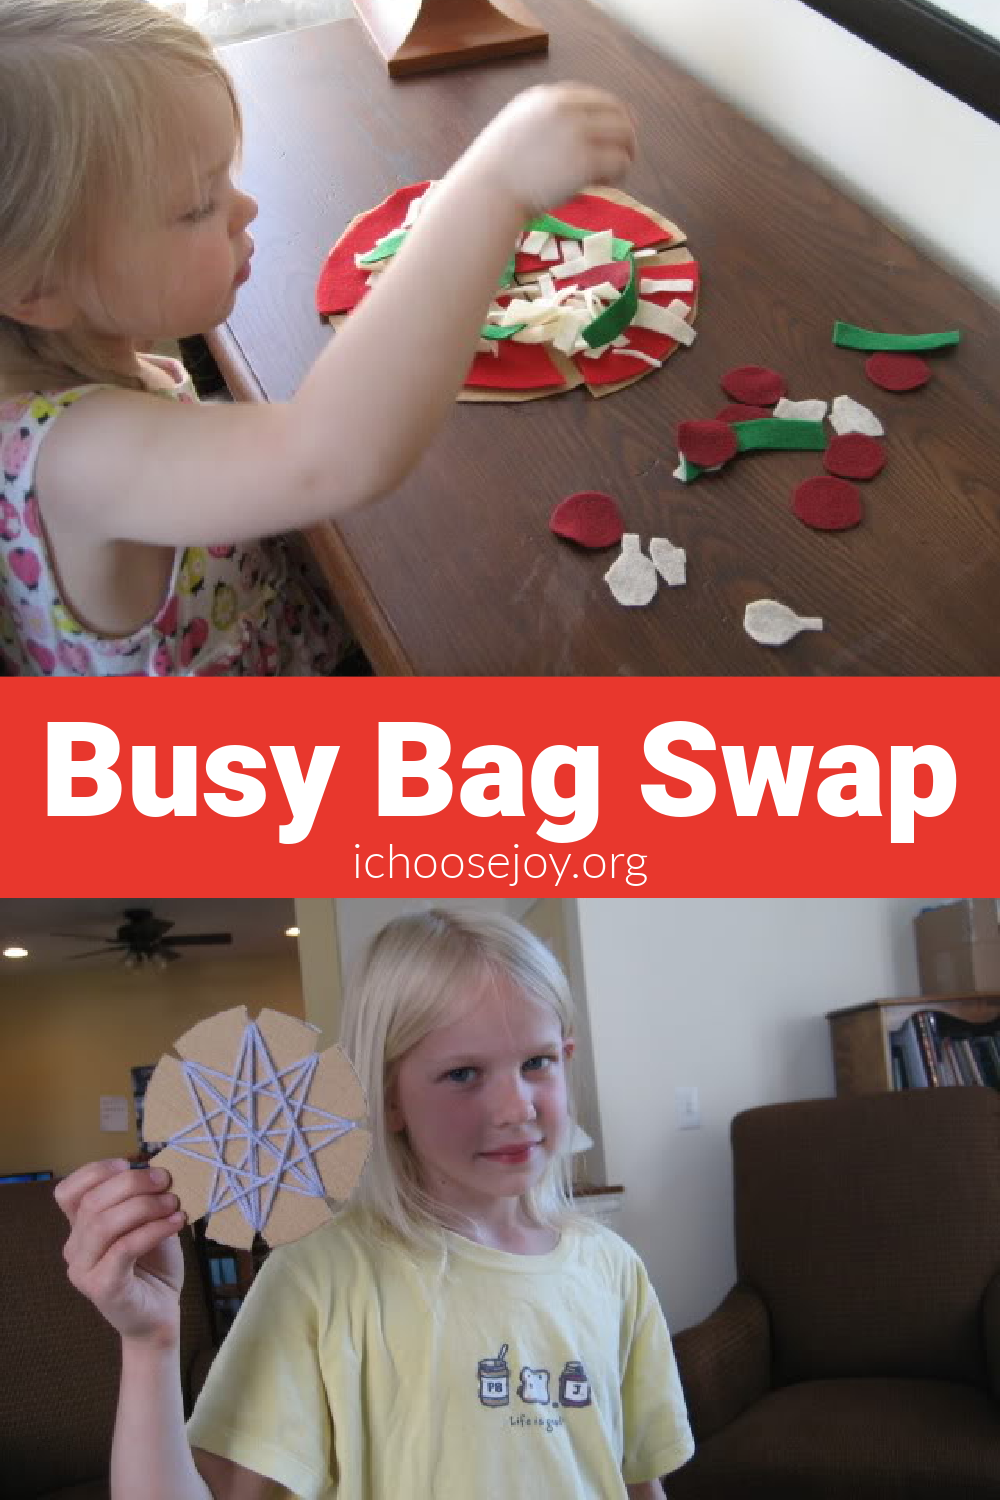
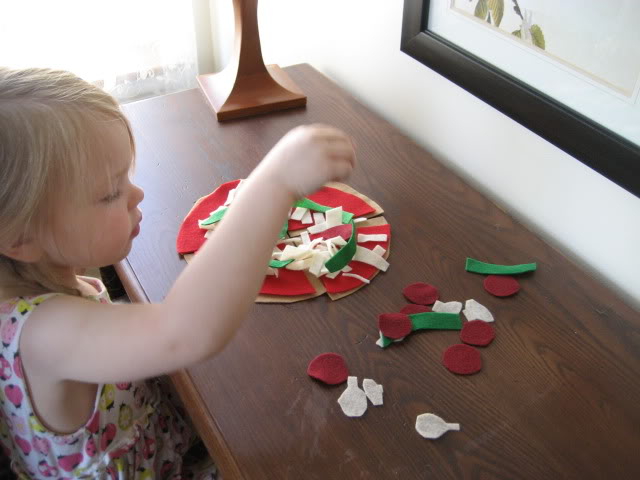
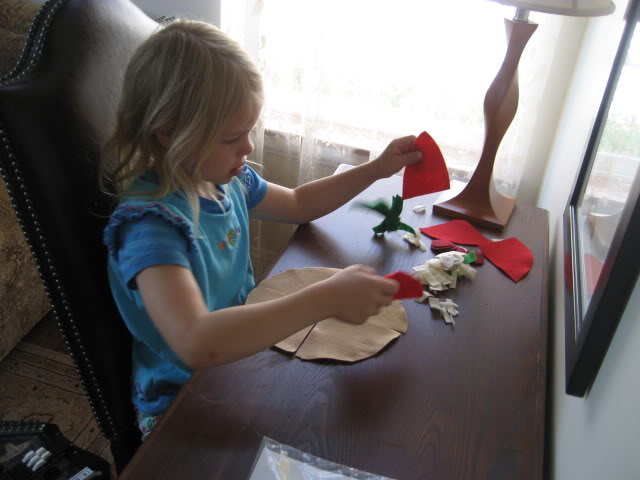
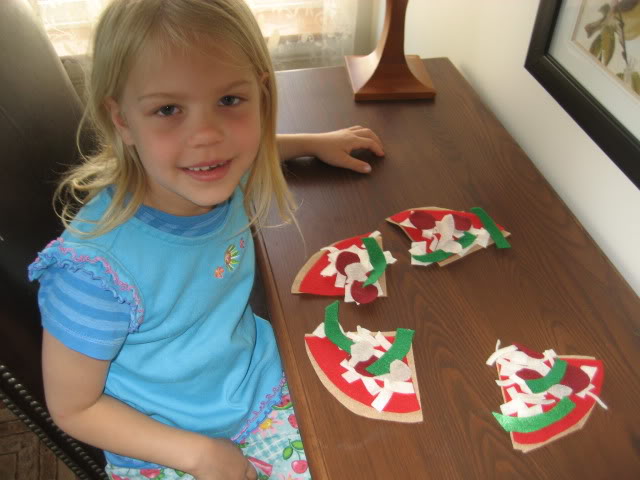
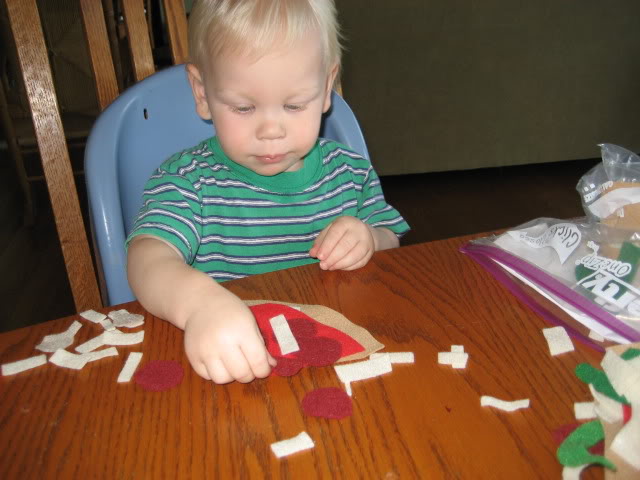
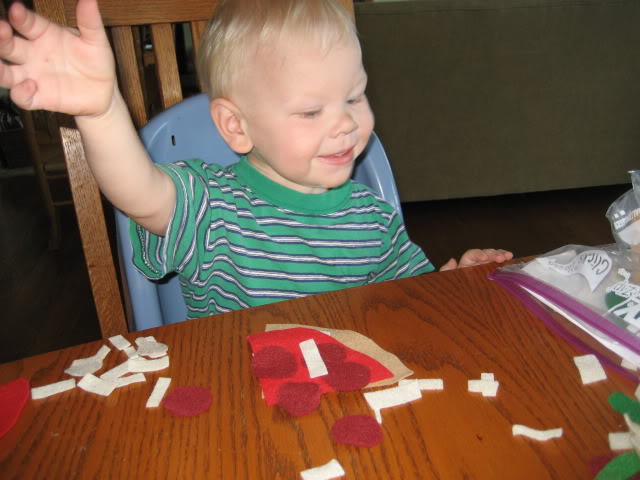
Felt Pizza
Materials Needed:
- Various colored felt sheets (brown for crust, red for sauce, yellow, green, and other colors for toppings)
- Scissors
Instructions:
1. Prepare the Crust:
- Take the brown felt sheet and cut out a circle to represent the pizza crust. You can make it as large or small as you like, keeping in mind the size of your busy bag.
2. Make the Sauce:
- Cut out a smaller circle of red felt to represent the pizza sauce.
3. Add Cheese:
- Cut out small yellow felt squares or triangles to represent cheese.
4. Create Toppings:
- Use various colored felt sheets to create toppings like pepperoni, mushrooms, bell peppers, onions, etc.
- Cut out shapes accordingly. For example, for pepperoni, cut small circles out of red felt. For mushrooms, cut out brown circles with white circles on top.
- Arrange the toppings on top of the cheese and sauce.
5. Optional: Add Velcro:
- If you want to make the pizza interactive, you can add Velcro dots or strips to the toppings and the pizza.
- Attach one side of the Velcro to the back of each topping piece and the corresponding side to the pizza where you want the topping to be placed.
- This allows the child to “customize” their pizza by adding and removing toppings.
6. Playing with the Felt Pizza:
- Encourage your preschooler to pretend play by “making” pizzas with the felt toppings.
- They can also practice counting toppings, naming colors, or even engaging in social play by “serving” pizza to stuffed animals or family members.
Creating a felt pizza is not only a fun activity but also provides opportunities for learning and imaginative play for preschoolers.
Chinese Jump Rope
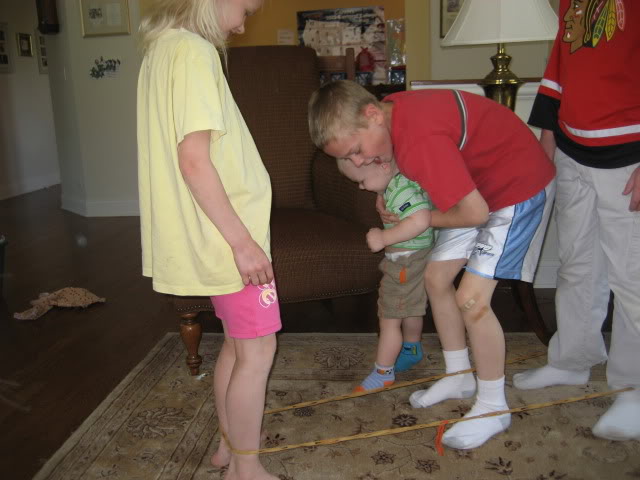
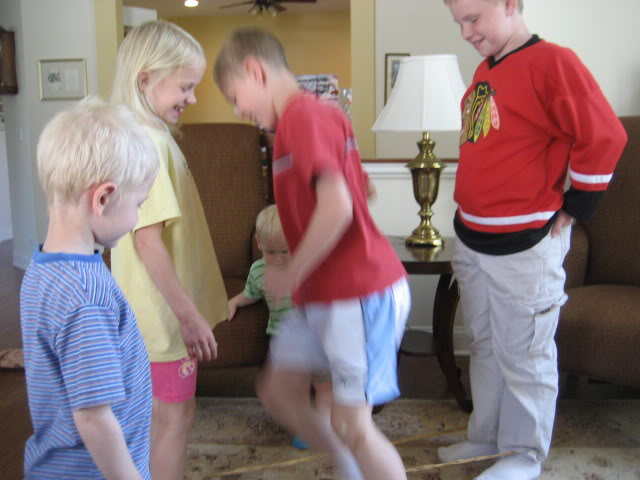
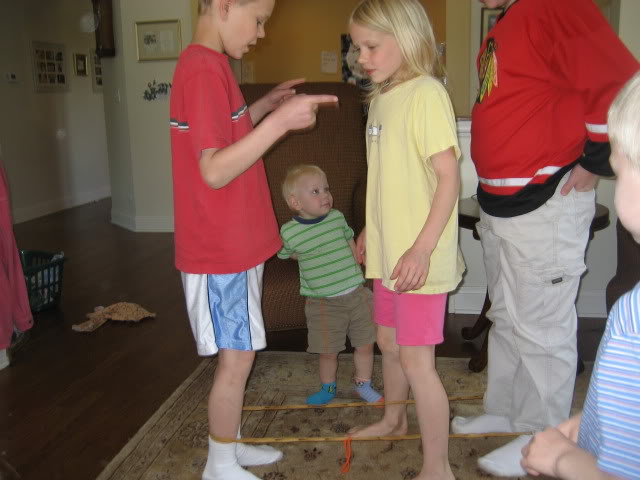
Included in the bag were a bunch of heavy-duty rubber bands and instructions on how to put the jump rope together. There was one pattern included, and links to some YouTube videos with many more ideas of how to play. Yay–P.E.time!
Do you like Sensory Bins? Check out this Ice Cream Sensory Bin.
A Tangled Web We Weave
“A Tangled Web We Weave” is a craft project that involves creating a tangled web using yarn or string. This activity is great for improving fine motor skills and can be a calming experience. Here are the instructions:
Materials Needed:
- Yarn or string in various colors
- Cardboard or foam board
- Scissors
- Optional: Beads, feathers, or other decorative items
Instructions:
1. Prepare the Base:
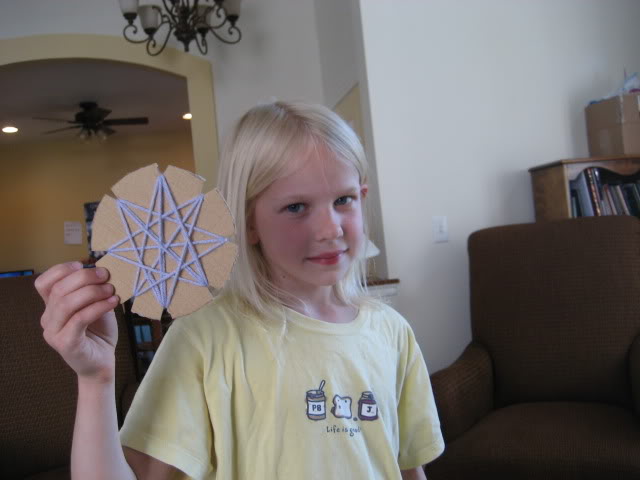
- Cut out a circle shape from the cardboard or foam board to serve as the base for your tangled web. Cut out notches in equal distances around the circle. (See photo below)
- The size of the base is up to you, but a larger surface area allows for more intricate designs.
2. Attach the Yarn:
- Choose a starting point on the board and secure the end of one piece of yarn with tape or a dab of glue.
- Begin wrapping the yarn around the board in various directions, creating a web-like pattern.
- You can crisscross the yarn, loop it around the edges, or create spirals and loops for added interest.
- Continue wrapping the yarn until you are satisfied with the complexity of the web.
3. Add Decorative Elements:
- If desired, you can incorporate beads, feathers, or other decorative items into your web.
- Thread beads onto pieces of yarn and weave them through the web.
Creating a tangled web can be a relaxing and enjoyable craft activity for both children and adults. Experiment with different yarn colors and patterns to make each web unique and visually captivating.
Felt Laundry:
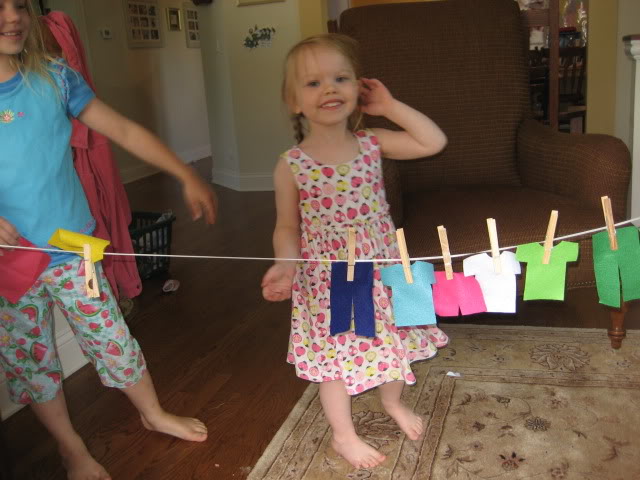
Creating a “Felt Laundry” busy bag allows for a fun and interactive way to engage preschoolers in imaginative play while also teaching them about household chores. Here's how you can make it:
Materials Needed:
- Various colors of felt sheets (for clothing items)
- White or light gray felt sheet (for towels)
- Fabric scissors
- String
- Clothes Pins
Instructions:
1. Cut Out Clothing Shapes:
- Use the colored felt sheets to cut out various clothing shapes such as shirts, pants, skirts, dresses, socks, and hats. You can create different sizes and styles to add variety.
- Use fabric scissors to cut out the shapes neatly. You can create templates beforehand or freehand the shapes.
2. Create Towels:
- Cut out rectangular shapes from the white or light gray felt sheet to represent towels.
- Optionally, you can cut some actual towels to make your small busy bag towels.
3. hang Up The Laundry:
- Attach the string between two chairs
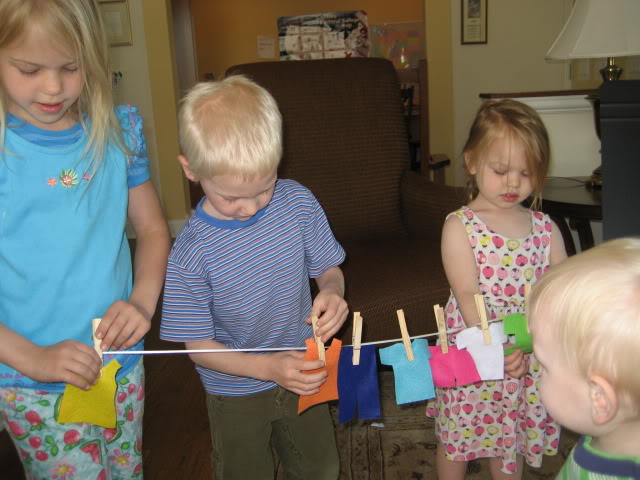
- Have the preschoolers practice using the clothes pins to hang up the clothes to “dry.”
4. Play and Learn:
- Encourage preschoolers to engage in pretend play by sorting and folding the felt laundry items, placing them in the small plastic bowl (laundry basket), and then “washing,” “drying,” and “folding” them.
- Use this opportunity to teach them about household chores and responsibility in a fun and interactive way.
Creating a “Felt Laundry” project is not only entertaining but also educational, helping preschoolers develop fine motor skills, creativity, and life skills. Here are some other busy bag felt laundry ideas.
Do you have some fun busy bag ideas? Share in a comment below!

