How to Set Up an All About Reading/Spelling Notebook
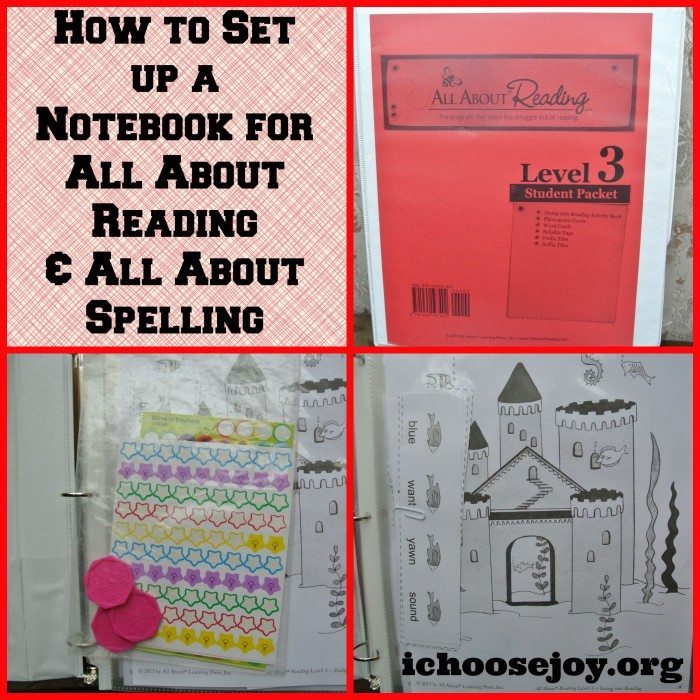
We have been using All About Reading in our homeschool since last year and just started All About Spelling in September. I'd love to share with you today how I have set up my All About Reading and Spelling notebook to keep everything handy for the lessons. One of the best features of All About Reading and All about Spelling is that there is no teacher preparation time required, but it sure helps to keep it all organized!
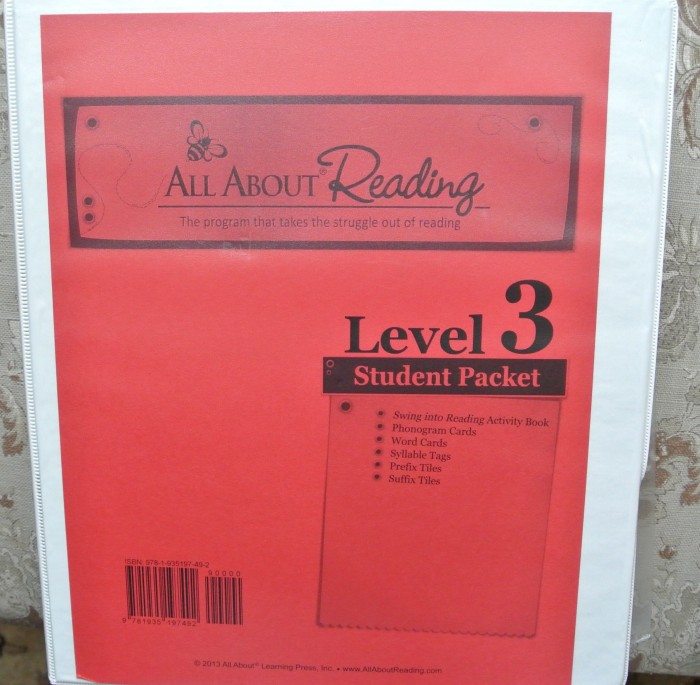
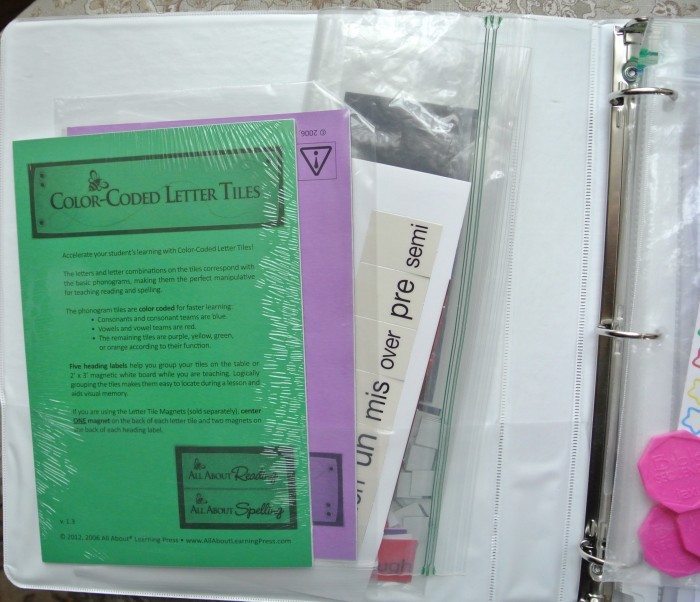
I use a simple 3-ring binder and slipped my All About Reading packet page in the front pocket.
Front Pocket
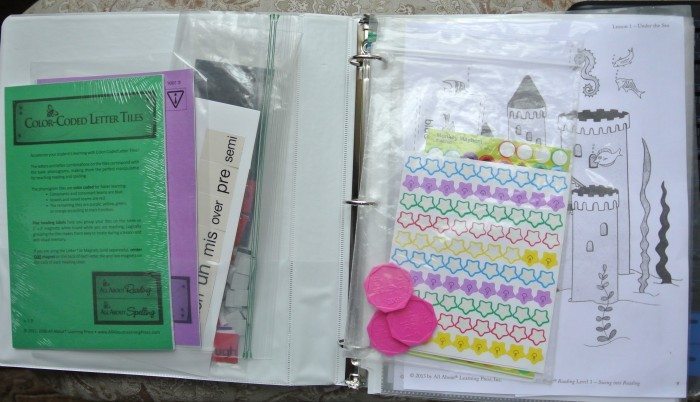
In the front pocket, I put things that I'll need later on, such as more letter tiles and magnets.
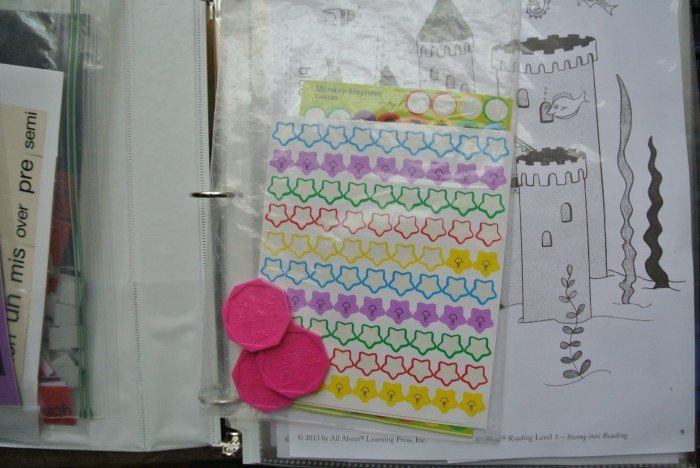
The first thing in the binder is a resealable plastic back that contains the reward stickers used for both All About Reading and All About Spelling and the “pull-down” tokens I use for Spelling.
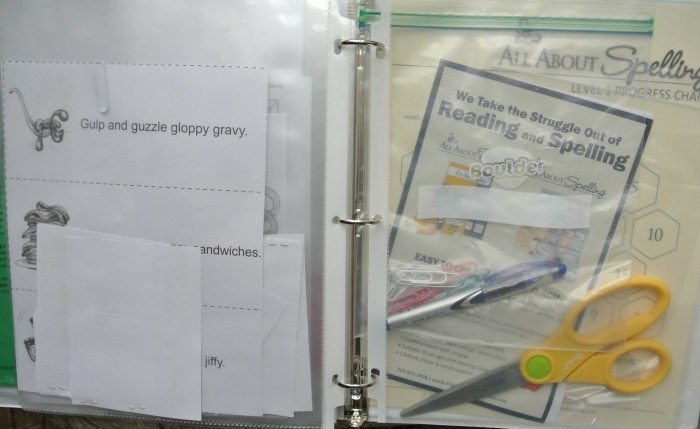
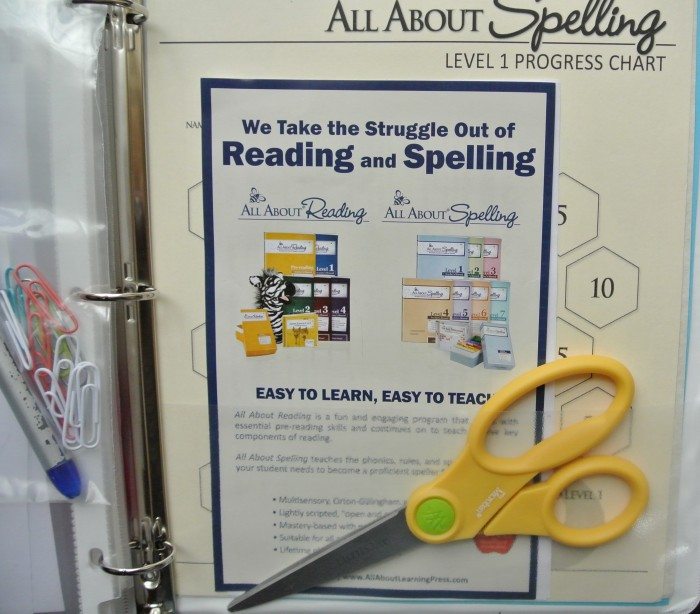
A Close-up of the front pocket:
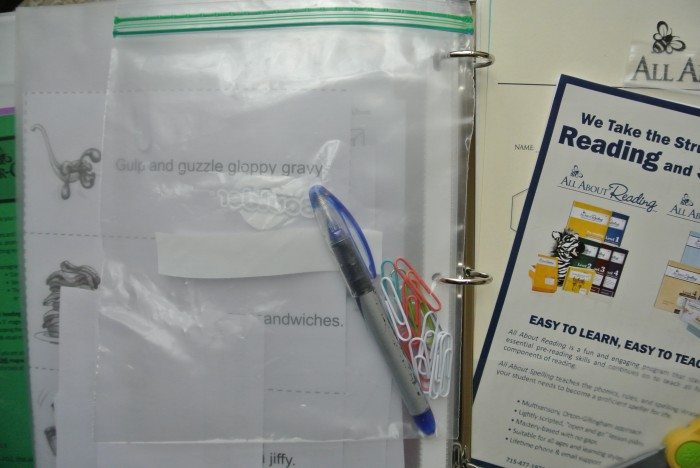
A close-up of the bag containing stickers and tokens:
Plastic Sleeves
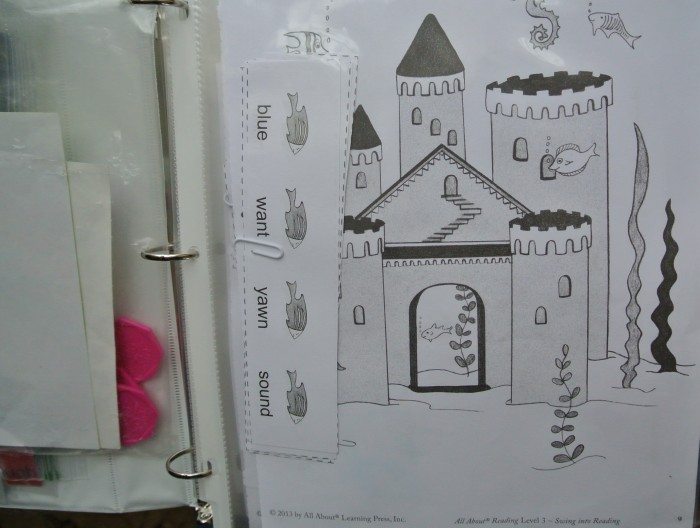
The next items in the notebook are plastic sleeves that open in the top. In these I place the activity pages in order. I keep them together with paper clips and label them with the lesson number if it gets cut off.
More activity pages:
After the activity pages is another resealable bag where I keep paper clips and a pen.
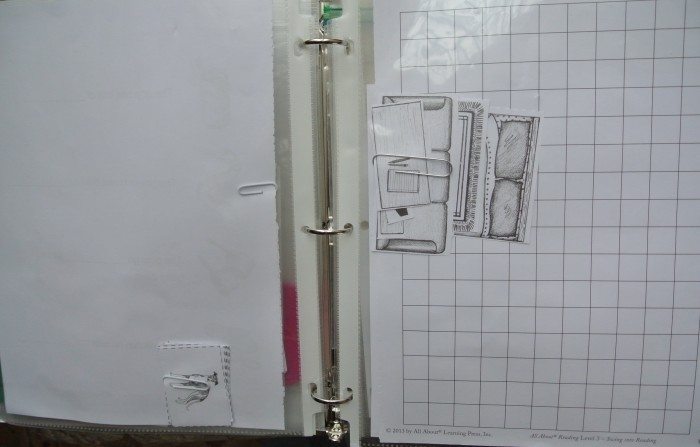
Back Pocket
In the back pocket, I keep a sharp pair of scissors so I can quickly cut out the activity pages right before we use them, and a few more extra items.
I have found this system to be extremely handy in helping us with our lessons each day. I just grab this notebook, the teacher and student books, card boxes, and dry-erase board with letter tiles to sit on the couch and do our lessons. I'm so happy that my daughter who has dyslexia is improving in her reading and spelling abilities, as well as her confidence!
Do you use All About Reading or All About Spelling? Do you have an organizational technique to share? Please leave a comment!
Free Samples
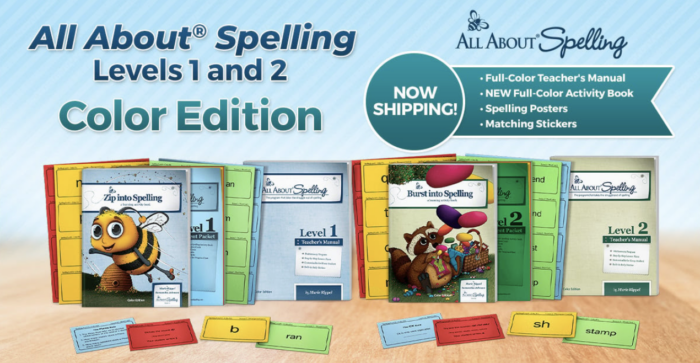
And, if you don't already use this great curriculum, you can try it out with these sample pages!
Related Content
(Disclosure: I received All About Reading 3 and All About Spelling 1 in exchange for writing some honest reviews. This post also contains affiliate links.)



It’s so much easier to have everything all in one place! This is a great organization, I don’t use those programs but I think I can adapt to some of our lessons!
I hope you can, Krista. It sure has helped me. 🙂
–Gena
I have a very similar setup. I pre-cut all activities before sliding them into their own plastic sleeve so that one lesson = one sleeve. Also, I found the card boxes bulky. Rather then separating the cards, I leave them as full sheets slipped into plastic sleeves. As I need the cards, I simply turn to them in my notebook and point to the card I’d like my child to read. My AAR and AAS notebooks contain everything needed, except for the white board. This has made it much easier on me and my kids, and I find I’m more excited about doing it because I only need to grab the one notebook (instead of the teacher’s book, activity book, card boxes, etc).
That sure makes the original setup easier–not having to separate all the cards. But my daughter is really motivated by seeing the cards in “review” moved into “mastered.” 🙂
–Gena
We love AAR and AAS!! I have two different levels of reading and two different levels of spelling though. I love the binder idea. Karen, do you cut apart the teacher’s book and put that in clear sleeves as well?
I haven’t taken the teacher’s book apart–but that’s a great idea! That way, everything can be in the same binder!
–Gena
We use AAR 1 and 3. I started putting all the activities in zip lock baggies around lesson 6 in AAR1. I filed the baggies in a large file folder that I taped up the sides. So far I’ve been able to find everything when I need to pull it out for my son. I love listening to him sound the words out. I love AAR and AAS!
I love them, too!
–Gena
I love how simple and organized this is! We are looking into All About Spelling for my first grader, and if we use it we’ll definitely be setting up this type of binder!
We only use AAS so it’s not that much to keep in order. I have a 3×5 card box to keep all the cards in and then a baggie to keep the tiles in. It works for us, but I love your binder (especially when you have AAR stuff to keep in order too)!
I found something on Amazon today that I’m going to try for storing the tiles. I can’t leave my board set up because my 18 month old grandson gets into them. In craft supplies, I found a 3 ring binder-box that has magnetic pages. 8 1/2 by 11. I can store tiles on one or two pages, and then use another page for word building. I hope! I have to order them and see if they live up to my expectations. I got the larger pack of pages because I’m sending some to the students I tutor online. You can get a binder that comes with 2 pages, I think.
Crafter’s Companion EZBinder 3-Ring Storage, Full, 10.75 by 11.625 by 1.5-Inch
Crafter’s Companion EZMagnetic 2-in-1 Panels, 8.5 by 11-Inch Sheets, 10-Pack by
I know this is an old post but we are going to use Aar and Aas i this year. I don’t really have space for a huge dry erase board but don’t want the mess of using our table either (my toddler would steal the tiles too). Would a smaller board work? Or do you find it best to set it all up together on the huge board?
The bigger board works best because there are so many tiles. If they aren’t in place, (i.e. if you have them in a bag or something like that), it will take too long to find the right tiles to spell the words. Just think of a wall someplace where you can hang it (even the inside of a door would work).