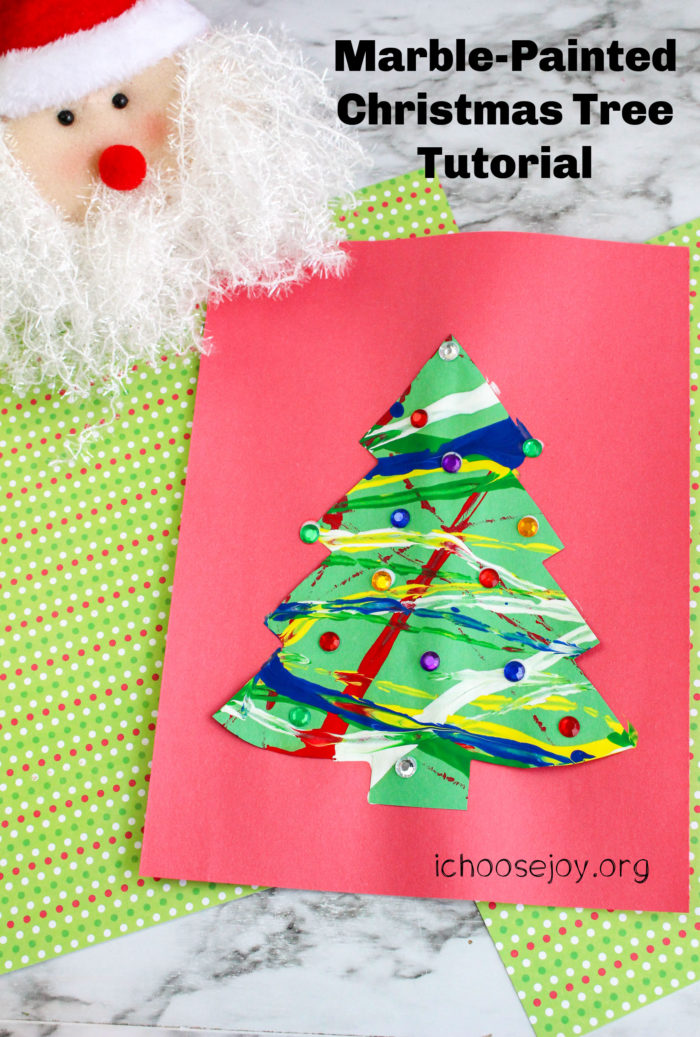
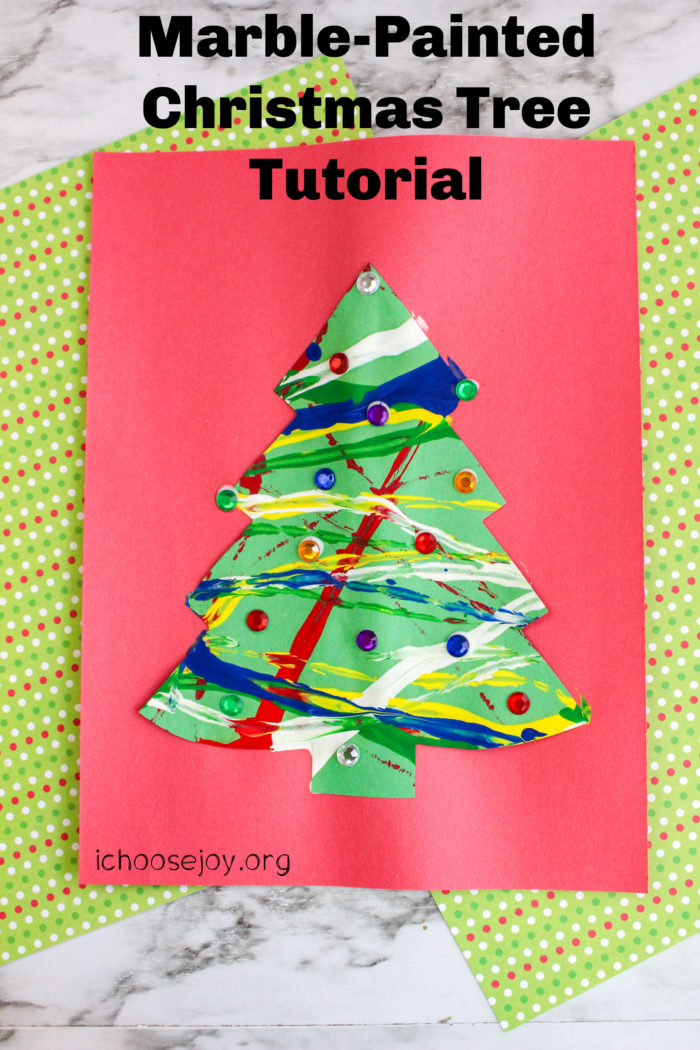
Marble-Painted Christmas Tree Tutorial
If you're looking for a fun arts and craft project to do with your elementary kids this December, try out the Marble-Painted Christmas Tree Tutorial! This activity can easily be extended for older students to decorate wrapping paper, Christmas cards, ornaments, and much more!
Disclosure: I get commissions for purchases made through affiliate links in this post.
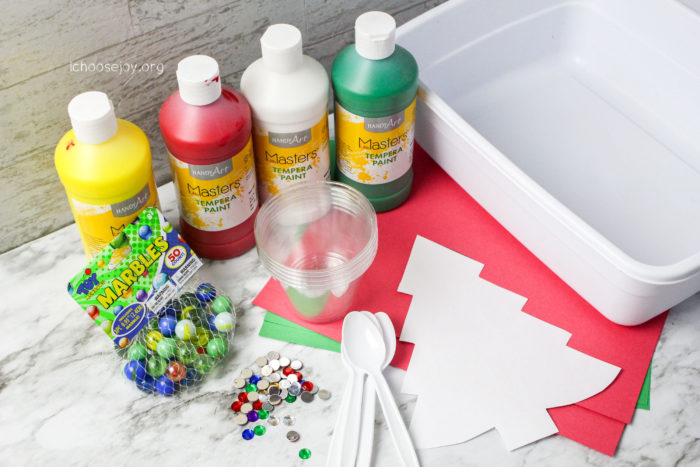
Supplies for your Marble-Painted Christmas Tree Tutorial
- Tempera Paint (here's my favorite washable version)
- Paint cups
- Spoons
- Marbles
- Scissors
- Glue
- Construction paper
- Template printed on cardstock (see below to download a template if you don't want to make your own)
- Bin, paint tray, or cardboard box
- Sequins or gems
Download a Christmas Tree Template here:
Get a free download of 4 different Christmas Tree outline templates,
can also be used as coloring pages!
Here's a DIY marbled Christmas card that you might like, too. And, check out the Circle Art Painting Kids Activity.
Tutorial for Marble-Painted Christmas Tree Tutorial
**As you're making your Christmas Tree craft, listen to the song “O Christmas Tree!” from my free 15-Minute Music Lesson over at my other website!
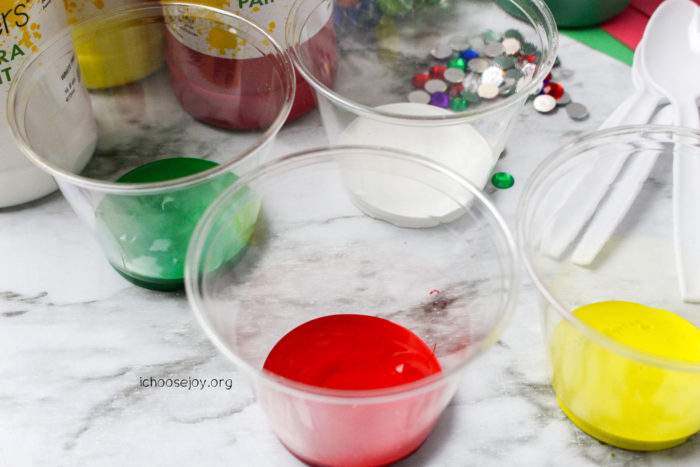
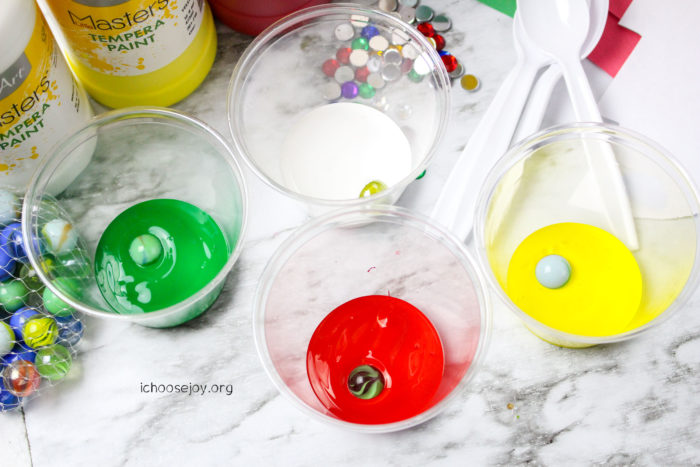
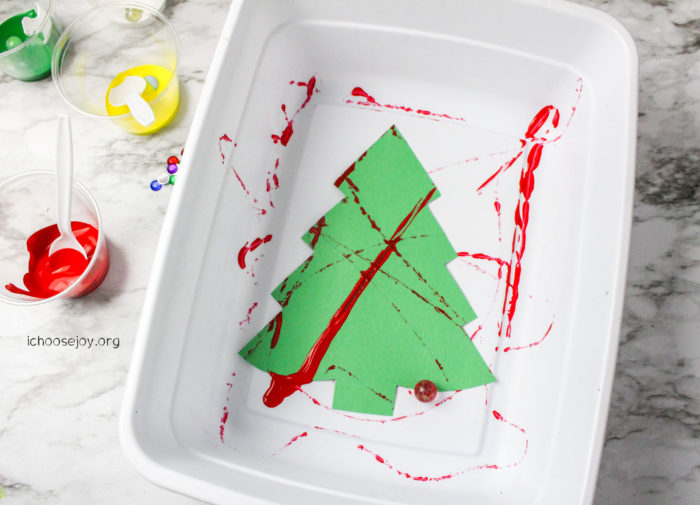
- Squeeze the paint into the paint cups with one color in each cup. Drop a marble in each color of paint.
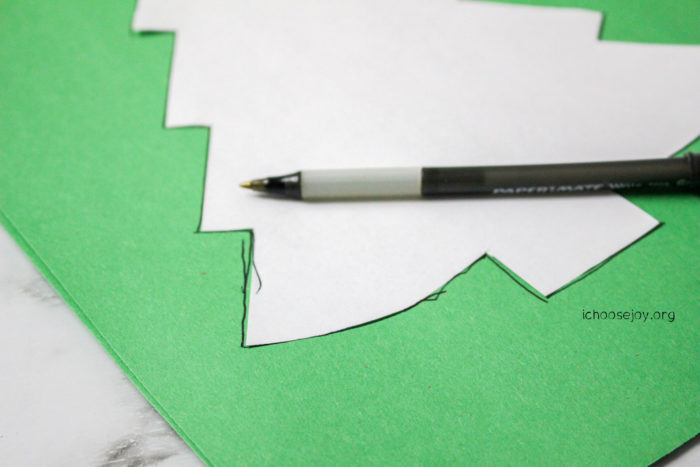
2. Print and cutout the cardstock Christmas Tree template. Draw a Christmas Tree using the template on green construction paper.
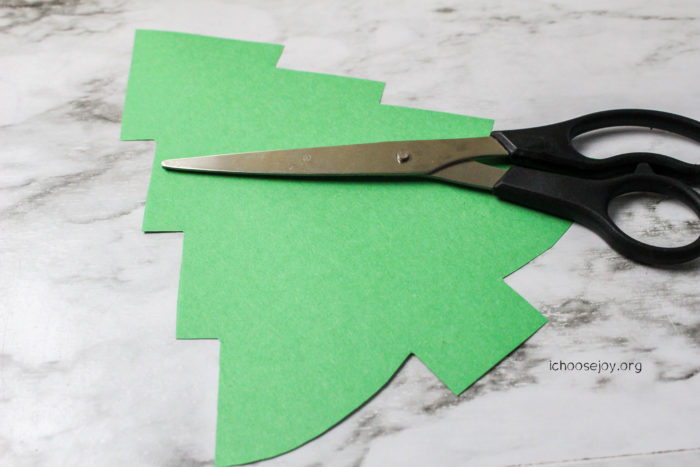
3. Cut out the Christmas tree.
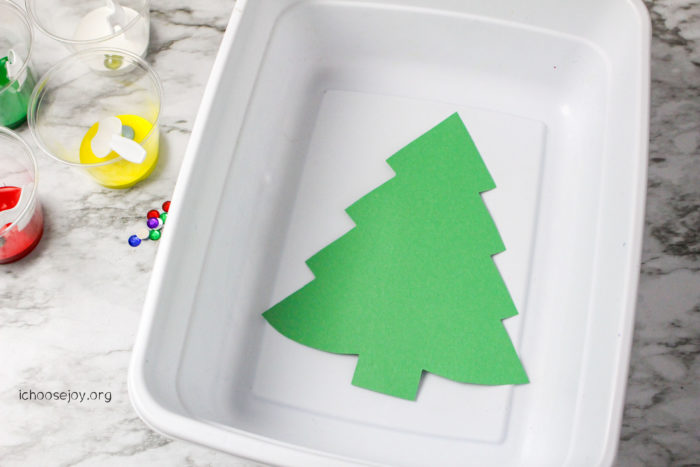
4. Use a spoon to roll the marble around in the paint. Then, scoop the marble into the bin over the construction paper.
5. Instruct the children to move the bin or paint tray trying to roll the marbles over the template.
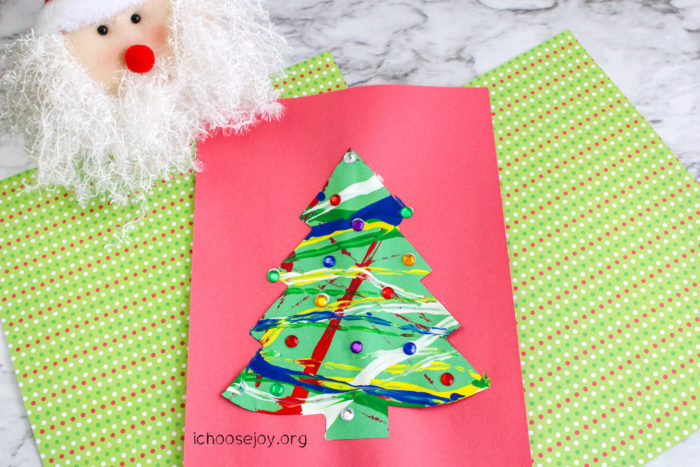
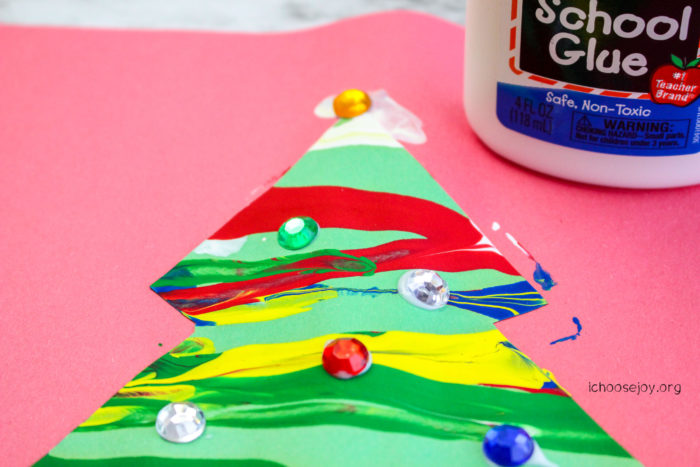
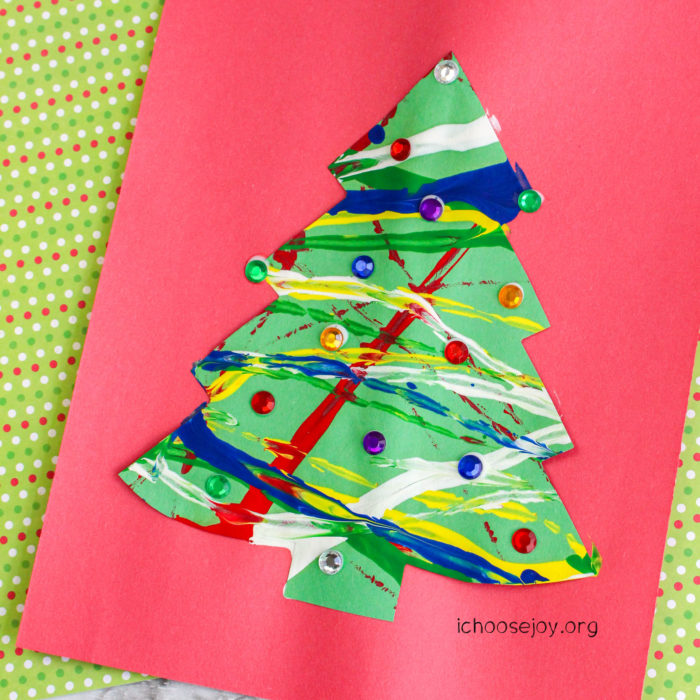
6. When done, carefully remove the painted paper to dry. Attach the dry painting to another piece of construction paper using glue and allow it to dry. Decorate the Christmas tree with gems or sequins.
7. Hang your creation on your fridge or wall. Or, turn it into a Christmas card to give away!
Related Posts:
- Free 15-Minute Music Lesson for “O Christmas Tree”
- Christmas Tree Handprint Ornament Craft
- Christmas School for Alternate Homeschool Curriculum in December
- Crafty Kids Christmas Camp ~ How to Plan and Implement


