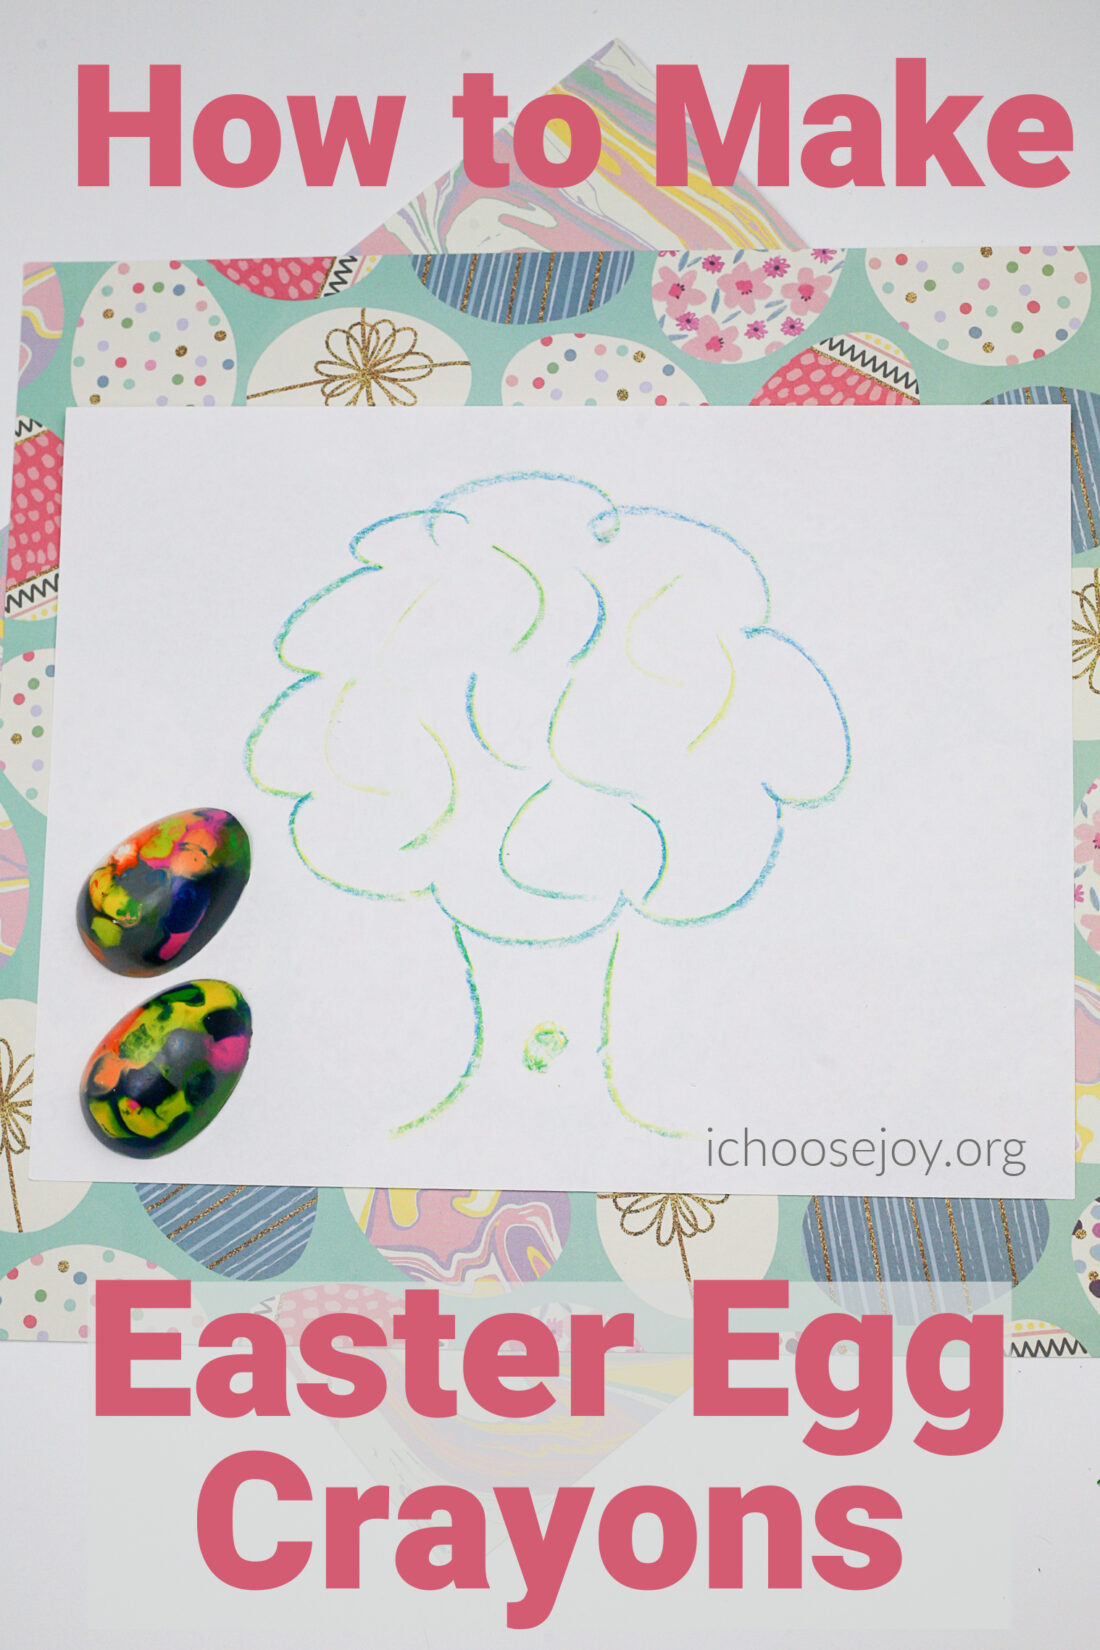
How to Make Easter Egg Crayons: A Fun and Easy Easter Craft
If you’re looking for an exciting Easter craft to do with your children, look no further than making your own Easter egg crayons! It’s a fun, easy craft that will keep your kids entertained and boost their creativity. Plus, it’s a great way to use up those broken crayons from around the house. Let’s get started! It's almost Easter, and with the season comes a flurry of fun activities to do with the kids. One of our favorites is making Easter egg crayons. Not only is this activity incredibly fun and easy to do, but the end result offers hours of creative play for your little ones! Let's break down how you can make your own Easter egg crayons in just minutes.
Disclosure: I get commissions for purchases made through affiliate links in this post.
Easter Egg Crayons Supplies
To make your own Easter egg crayons, you will need a few supplies. First, you will need some broken crayons, or fresh ones if you prefer. Then, you will need either an Easter egg silicone mold or a muffin tin. You will also need a cookie sheet and an oven to melt the crayons down into the desired shape. Finally, if you want faster cooling times for your eggs, you can place them in the freezer for a few hours before taking them out of the mold.
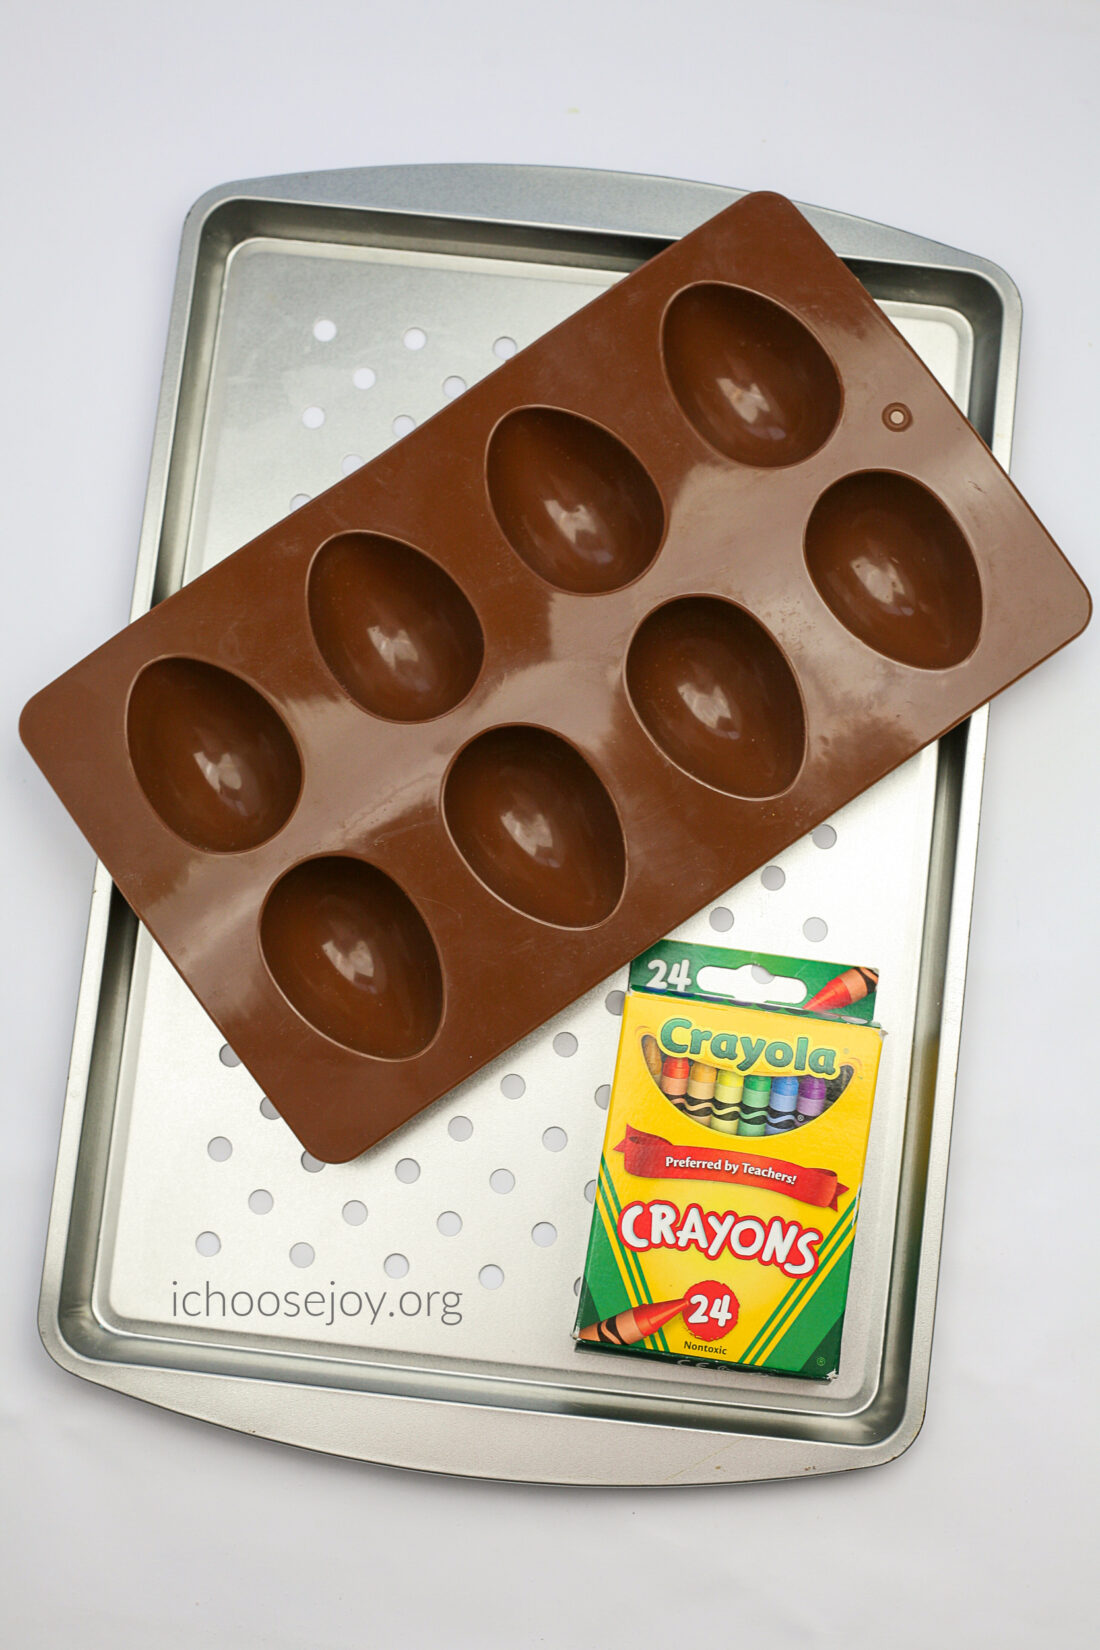
- Cookie sheet
- Crayons (used/old or new, broken up)
- Muffin tin or other type of mold such as an Easter Egg silicone mold
- Oven
- Freezer (optional)
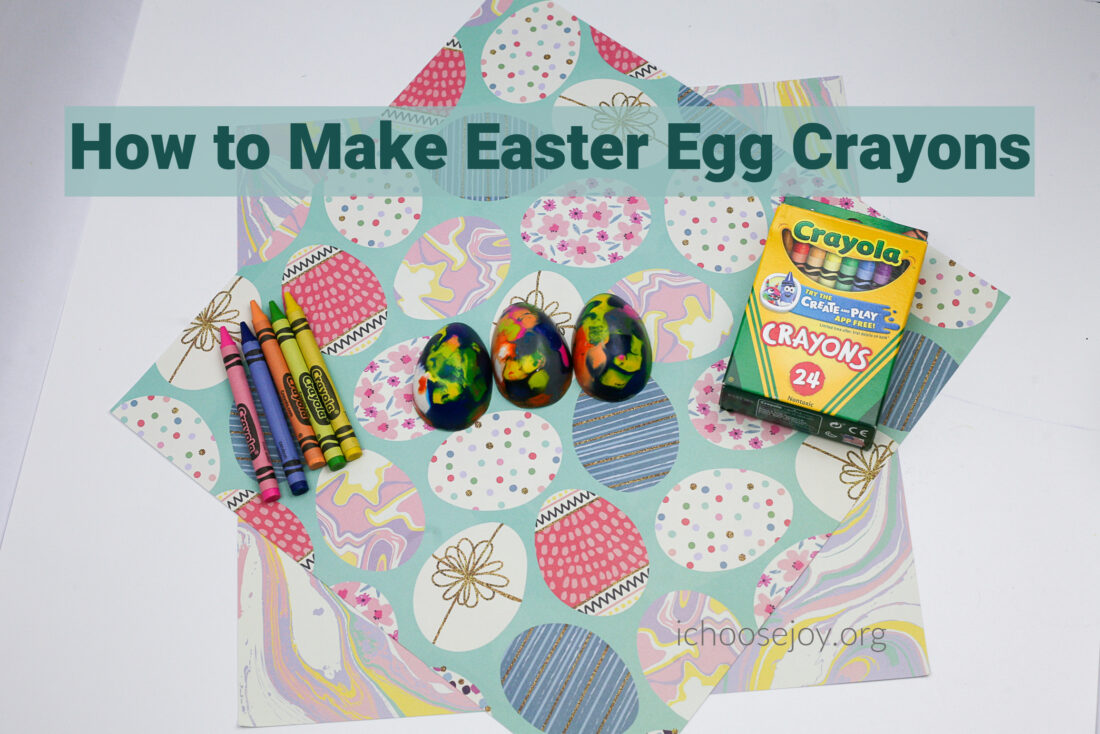
Get Started on Your Easter Egg Crayons
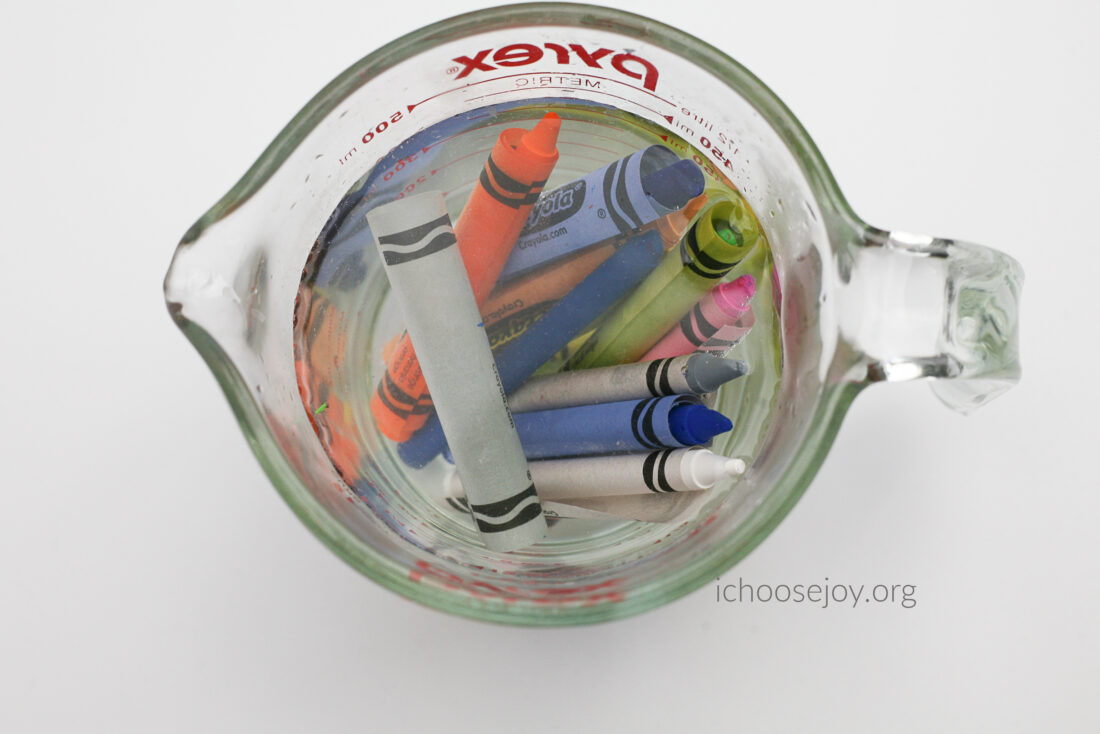
If using new crayons, place them in a bowl or cup of hot water for 5 minutes to easily remove the wrapper. Crayons will cut easily with scissors if cut right after removing them from the warm water.
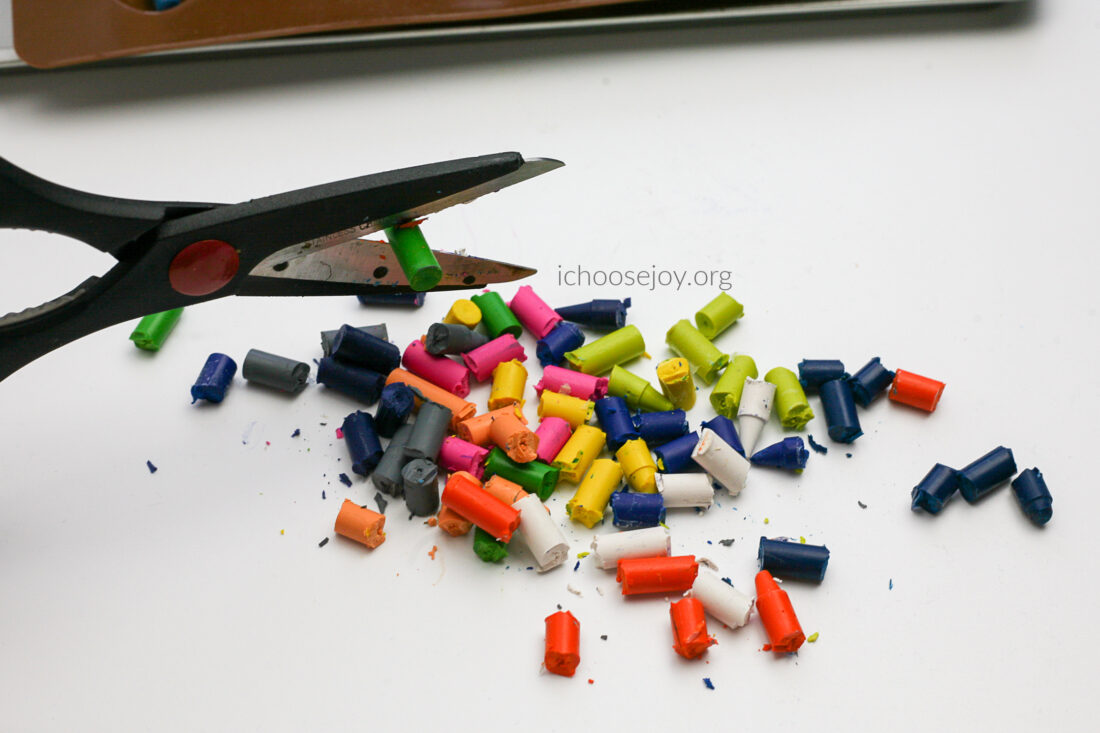
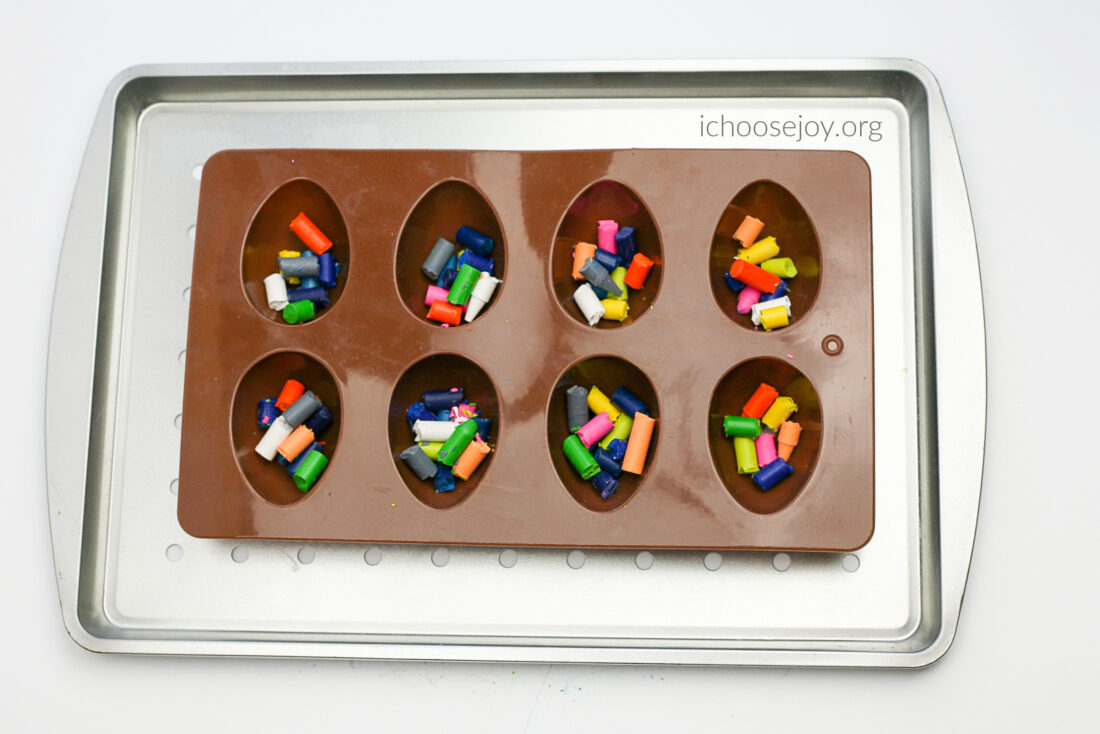
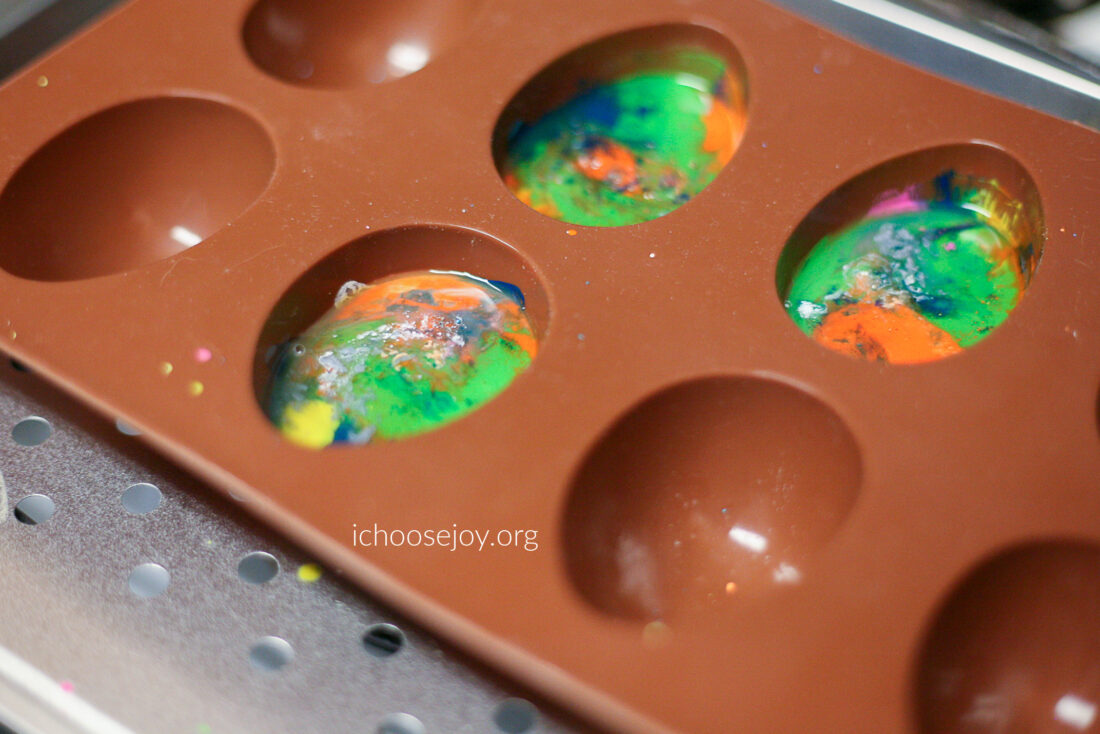
Place small pieces of crayon in the mold.
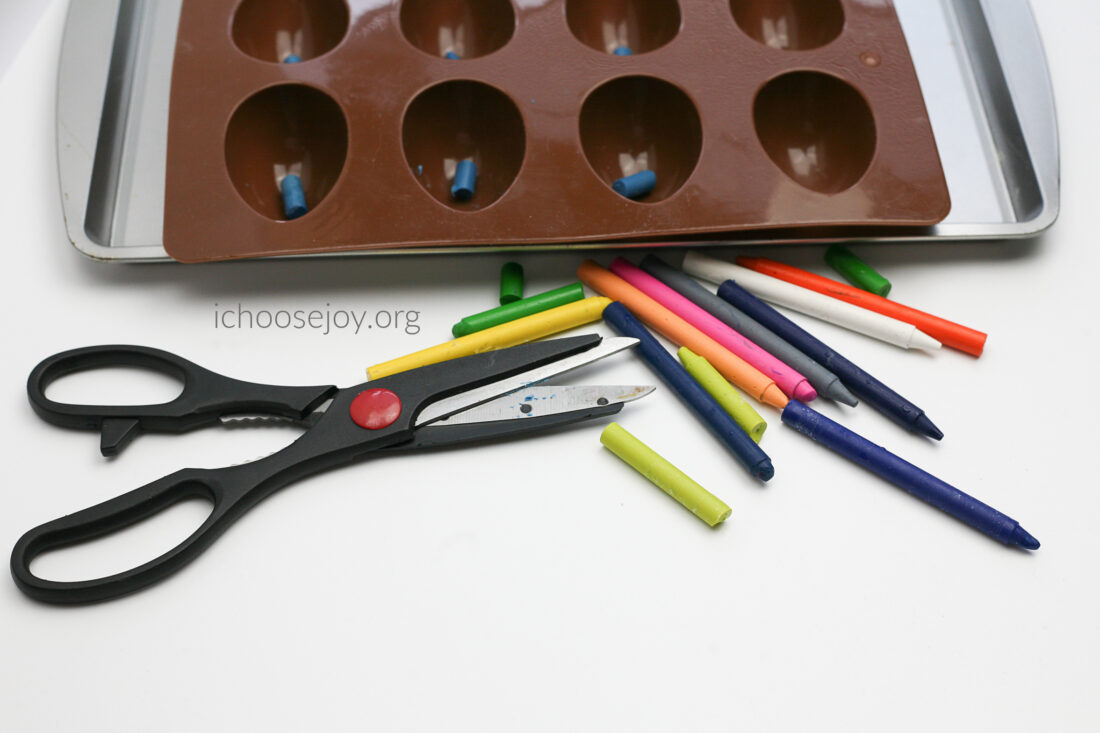
If using a mold, place the mold on top of a cookie sheet. Place the cookie sheet in the oven for 10-12 minutes at 275 degrees.
After baking, remove cookie sheet from oven with oven mitts and let cool for 5 minutes before attempting to remove your creations from their molds.
For faster cooling, place the cooled down mold into the freezer for 2-4 hours before removing—just be sure to allow it to warm back up to room temperature before taking it out!
Let The Fun Begin
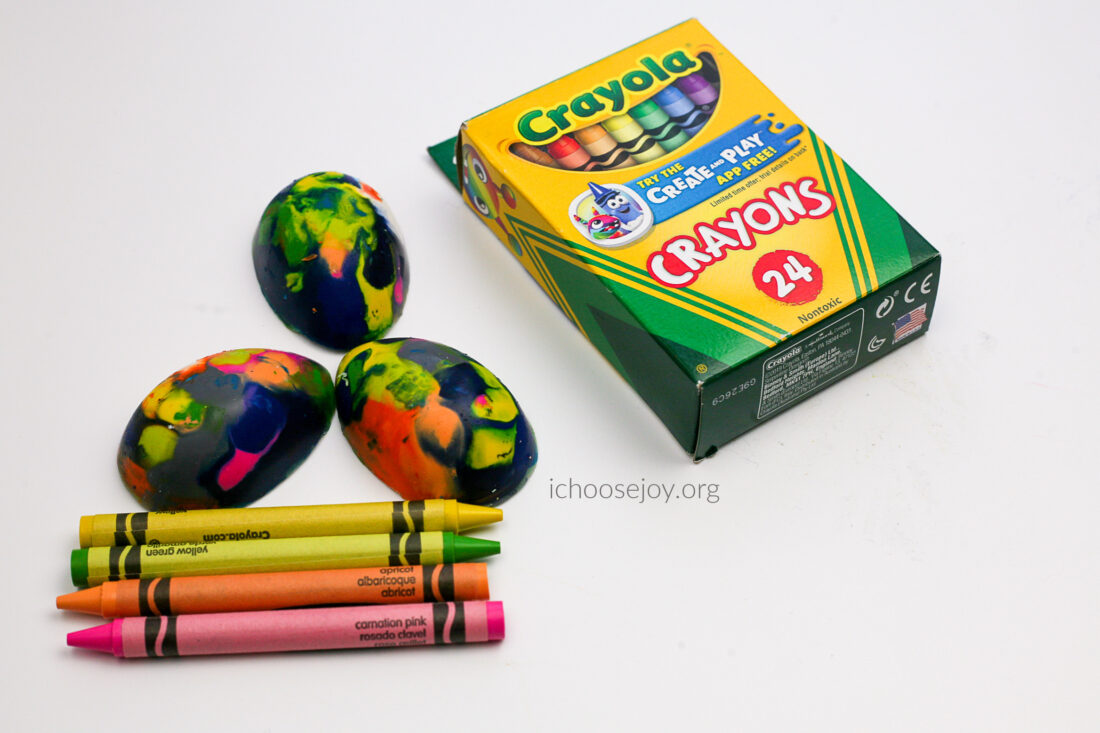
Now that you have your beautiful Easter egg crayons ready for use, let the fun begin! These are perfect for adding some extra creativity to coloring books or homemade crafts alike! Encourage your little ones to come up with different ways they can use their new colorful creations — they might even surprise you with their ideas!
Other Ideas for Using the Easter Egg Crayons
These eggs make perfect gifts for family members and friends during this special season as well as decorations for parties and more throughout springtime! You can also use these eggs as a teaching opportunity; talk about colors with young children or challenge older kids with mixing various colors together to create new shades! There are endless possibilities when it comes to these Easter egg crayons – so get creative and have fun!
Conclusion
Give this creative craft activity a try this season with your homeschooled kiddos – they’ll love getting creative while learning something new at the same time! Making homemade Easter egg crayons is easy enough for even young kids can help out with this one – plus there’s something special about being able to say “I made these myself!”
Related Posts:
- Frozen Fizzy Easter Eggs STEM Activity
- How to Dye Easter Eggs with Food Coloring
- Dissolving Peeps STEM Experiment
- The Easiest Way to Prepare for Easter: With Easter Scripture Copywork
- Resurrection Rolls Recipe & Easter Story Printable Pack
- Stained Glass Easter Cookie Recipe
- 15-Minute Music Lesson for Good Friday and Easter


