Crafty Kids Christmas Camp ~ How to Plan and Implement
[Today's post “Crafty Kids Christmas Camp” was written by guest contributor Michelle Habrych. You'll learn all about how to plan and implement a kids Christmas camp in your own home!]
Crafty Kids Christmas Camp
Christmas and crafts go together like milk and cookies. Kids especially love both combinations! My kids always liked to make gifts for friends and family members. When money was especially tight, our only gifts were homemade. We made some wonderful memories together while working on the crafts. These crafts can be wonderful keepsakes for years to come and don’t have to cost much money at all.
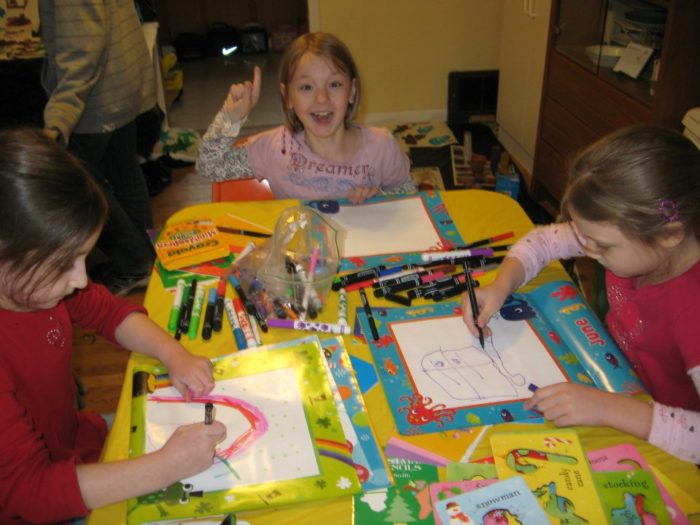
Since I taught art camps during the summer for my friends’ kids, I decided to try what I called Crafty Kids Christmas Camp. It was a time when moms could drop off their kids to work on crafts while they got in some shopping without the kids. It soon became a tradition, and I offered it for many years.
Here are some ideas for hosting a craft camp with those in your immediate social circle, with just your own kids, or expand it to a wider business! Enjoy!
The Schedule for Your Crafty Kids Christmas Camp
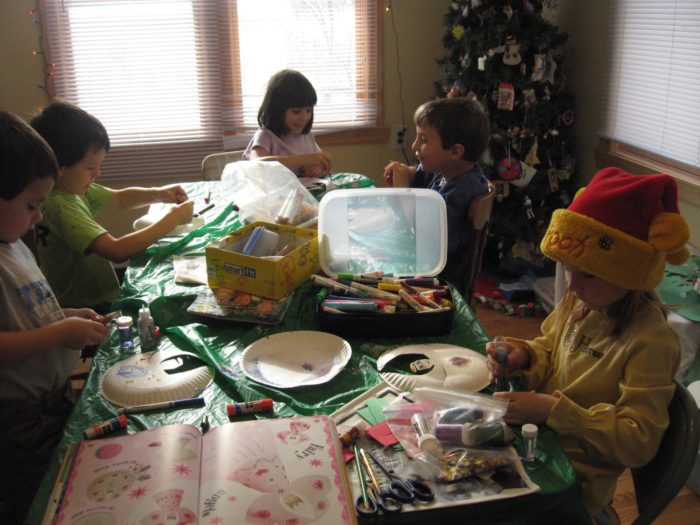
First off, I start after breakfast, usually around 9:30 or 10 a.m. This means the kids are full and ready to have fun. Any crafts that have multiple steps (including drying or baking), I begin with, so provide enough time for that before they leave. I plan out the day’s crafts the night before and have all of the supplies together and easily accessible. I cover the table with a plastic tablecloth (Dollar Tree has some that work well for this), and turn on the Christmas music.
Disclosure: I get commissions for purchases made through affiliate links in this post.
Download a free printable Camp Planning Guide below!
How to Choose the Crafts
Make sure you either choose crafts that are age-appropriate or plan to spend a lot of time helping younger campers. Don’t expect perfection; remember it’s the thought that counts. Let the kids be creative.
I liked to have projects for these categories:
- Gift making
- Card making
- Ornament making
- Decoration making
- Treat making
This way the kids are focused on ways they can make things for their friends and family members, as well as something they will get to keep (decorations, treats).
Keep it simple and stick to a limited number of crafts your first day. That way you won’t overwhelm your kids (or yourself!!).
Here are some popular crafts we have done over the years:
Christmas Baubles
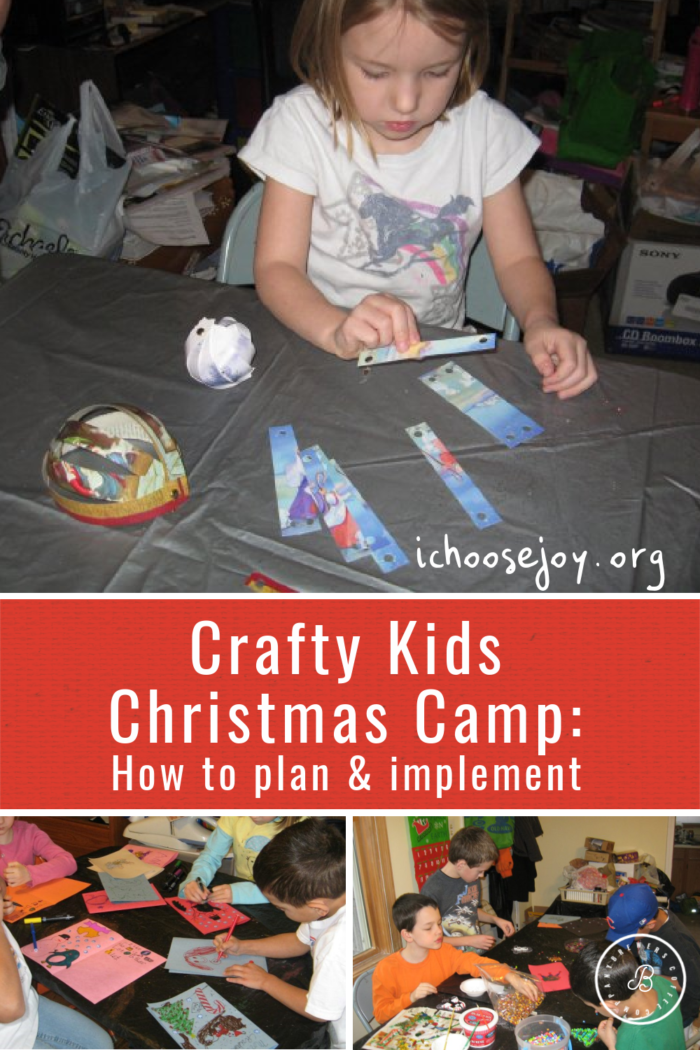
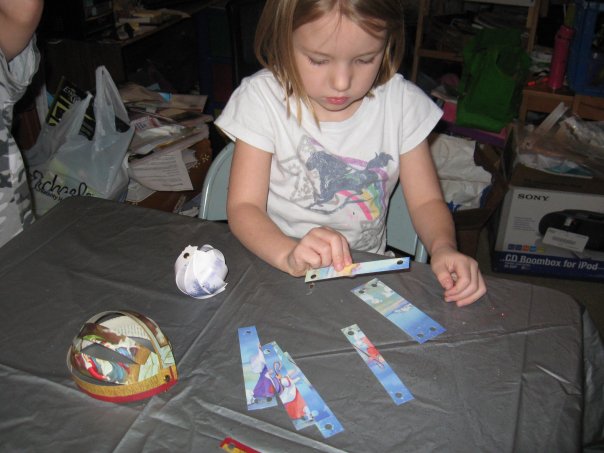
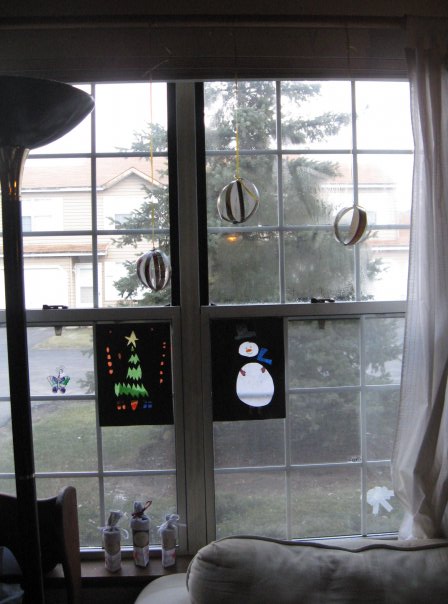
Cut an old Christmas card (the artwork) into straight strips of the same size. Punch holes in the top and bottom of each strip. Attach the strips in a stack with the brad fasteners and fan out to make a bauble. These make great decorations to put around the house or on the tree.
Stained Glass Pictures
Have your campers use stencils and scissors (or just cut out shapes) to make an image (without cutting the outside of the page). Stretch tissue paper to cover the openings and attach with glue stick to the construction paper. Then tape the completed project on the window for a pretty “stained glass” picture (from the inside view at least! Older campers may be able to do two exactly the same cutouts or cut two pieces at the same time, put tissue in between the sheets and have a lovely view from both sides). We saved ours and reused it for many years.
It would also be fun to add in this Christmas treasure hunt!
Christmas Cards
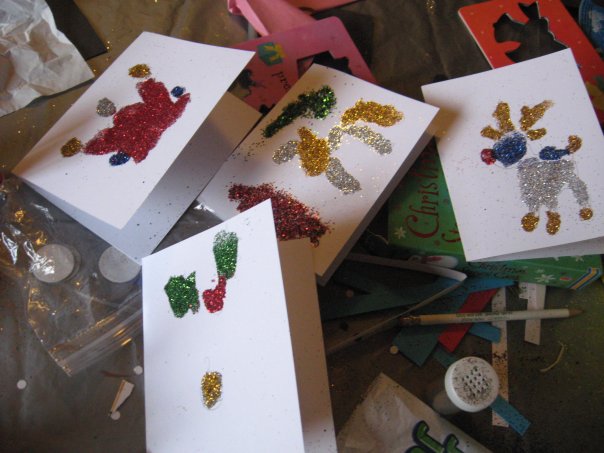
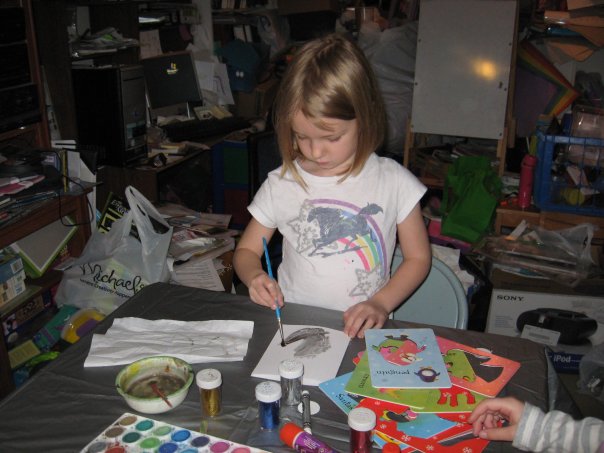
There are many types of cards you can try. I had a craft book from the library that showed how to do pop-up cards, and the older kids loved making those. Here is an online tutorial that shows the basics of creating a pop-up card. I put out lots of supplies for campers to be creative with making their own cards. Cardstock, plain paper, construction paper, and watercolor paper make great bases, depending on what you want to do. A popular one was stencil and glitter cards, which the kids traced the outline of a Christmas shape with the stencil, covered the inside with glue stick, then sprinkled glitter over the glue. This made very pretty cards.
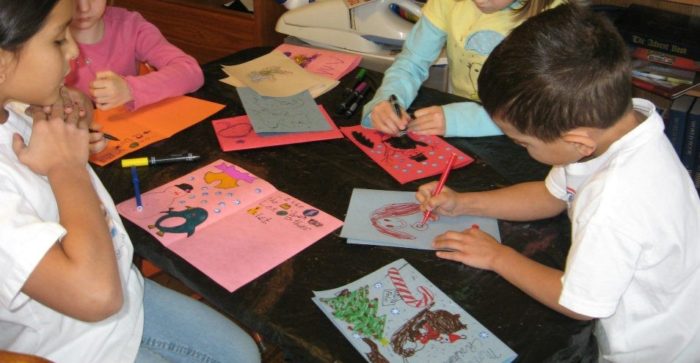
Providing watercolor paints, markers, crayons, colored pencils, scissors, stickers, stamps and ink pads, and other creative tools allows your kids to make one-of-a-kind cards.
Your creative kids could also take the pictures off old cards and cut them to make their own collage design.
Christmas Tree Wall Decorations
Cut out Christmas trees from construction paper and use a sponge to put “snow” on it (white tempera paint).
Paper Chains:
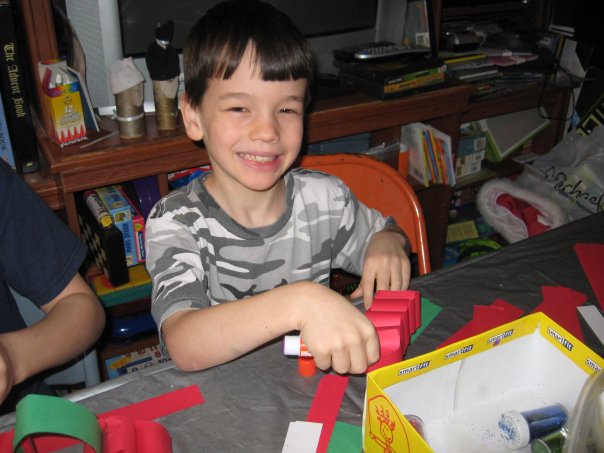
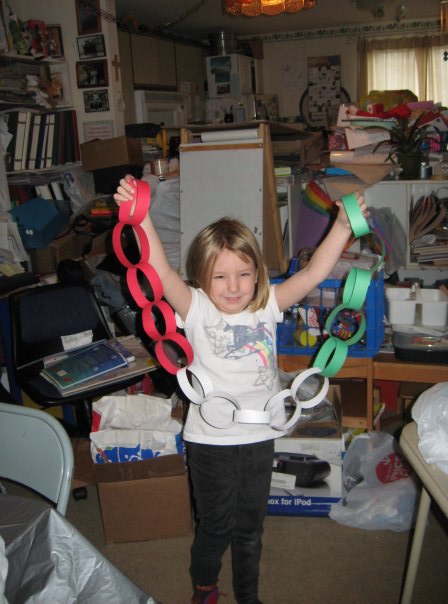
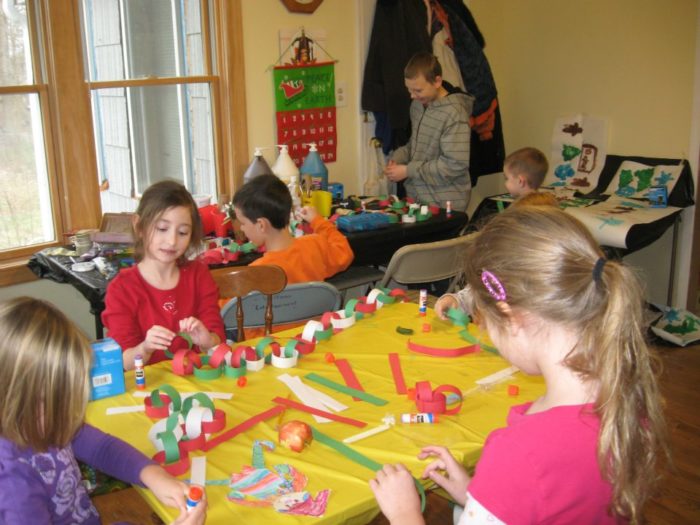
These were always a favorite of my campers. To prepare, cut equal lengths of red, white, and green construction paper for kids to link using a glue stick, tape, or stapler. Don’t worry about which colors they use where. One year my daughter’s looked like a flag from Mexico or Italy, as opposed to a red/white/green repeating pattern, but she was so happy with it! Another year the kids tried to see who could make the longest chain. This can take up as much time as you allow and keep them happily occupied.
Christmas Carolers:
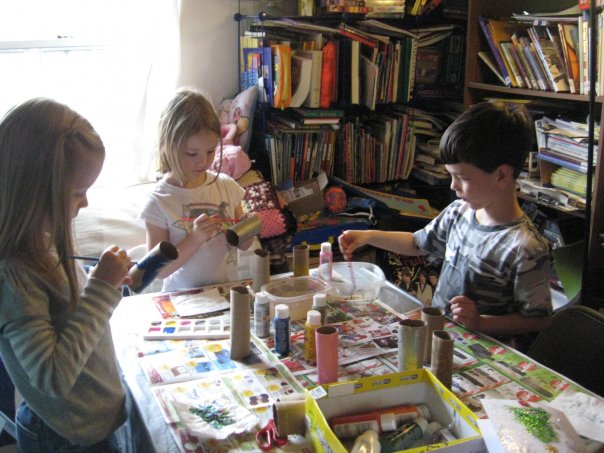
This is one I absolutely fell in love with the first year and made sets for all of my family members. I got the Christmas Caroler idea from Family Fun magazine. Paint empty toilet paper roll tubes in various colors.
Cut out construction paper and make a “singing face.” Glue the face to the dried painted tube. Cut out “carol hymnal” (a piece of colored construction paper folded or paper with music notes printed from a website like this) and glue it to the dried painted tube. Take an old sock (or piece of scrap fabric) and make a hat for the caroler. See finished products in the photo below on the window ledge.
Paper Plate Angel:
This possible tree topper was originally from an Usborne Fairy Crafts book— not sure which one it was in but the books are available at the library or online. I always made one or two templates for the kids to trace, but kids were welcome to try to draw their own.
My campers loved to decorate them with markers, paint, glitter glue, google eyes, and sequins. I found some other versions you could try here or another version here. Here’s a really fancy version used to decorate place settings on the dinner table.
Perler Bead Ornaments:
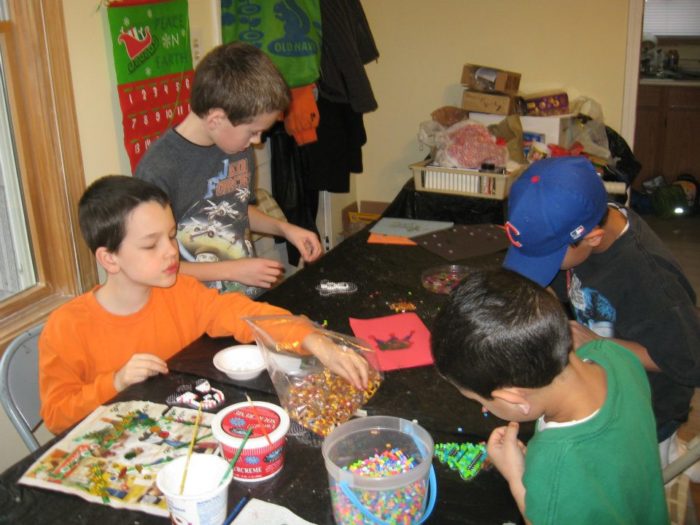
These are the “melty” beads or “fuse” beads. My kids loved doing this. We had them still in our home with teenagers until recently. To make an ornament, you can either get Christmas shaped templates or the regular ones and make whatever shapes you want. There are plenty of ideas available online. We always just left two or three adjacent spots near the top empty to make a “hole” for the string or ribbon to hang the ornament. If you want to make a “frame” ornament and print out a photo, that also works well. You can simply attach the photo behind the opening with double-stick tape. We have many ornaments from these beads on our tree.
Shrinky Dink Ornaments:
Get the Shrinky dink material, colored pencils or markers, and have fun. One year we made ornaments specific to what we had been studying in our homeschool, including the Olympics. You will want to hole punch the finished design before you shrink it in the oven.
Painted Ornaments:
I bought clear, plastic bulb ornaments. I took off the “top” and allowed the kids to pour in a bit of a few different colors of paint. Then the camper swirled it around. This looks very cool. Just don’t do too much paint or it will be heavy.
Reindeer Ornaments:
Classic reindeer ornament craft from your childhood! I made these when I was a kid. See the instructions if you are unfamiliar with this one
Homemade Wrapping Paper:
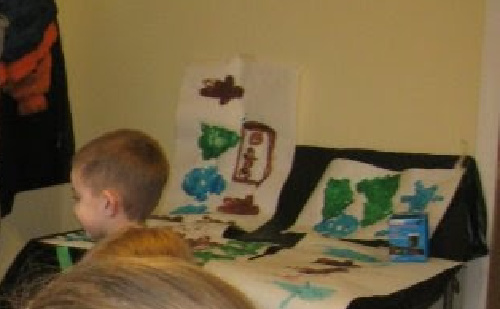
Get a large roll of heavy duty paper (I used something like this in white if I could find it). Make your own Christmas-shaped sponges taking cheap sponges and cutting into circles, stars, Christmas trees, gingerbread men, angels, or whatever you would like. We roll out a few large sheets of paper and the kids dip the sponge in washable tempera paint and stamp onto the paper. Sprinkle with glitter if desired.
You could also use a potato and cut out shapes. I always used sponges because I only had to cut the shapes once and then the sponges could be used again every year. Stamps and ink pads, markers, crayons, and stickers could also decorate paper.
Supplies you may want to have on hand, depending on which projects you choose:
- Stencils Usborne used to make wonderfully sturdy Christmas stencils. Those or any child-friendly ones will help with a number of projects. The Dover Fun with Christmas Stencils are also good It appears Oriental Trading has some as well.
- Watercolor paint trays
- Washable tempera paints
- Paint brushes
- Water cups
- Paper towels
- Glue sticks, white glue, glue gun with extra glue
- Scissors
- Tape
- Old Christmas cards
- Brad fasteners
- Construction paper (esp. Red, green, and white)
- Tissue paper
- Glitter (if you dare!)
- Glitter glue pens
- Sequins
- Hole punch
- Markers
- Crayons
- Colored pencils
- Stickers
- Stamps/ink
- Pencils
- Roll of heavy white paper to have kids decorate for homemade wrapping paper
- Sponges (use as is or cut into shapes– circle, star, Christmas tree, gingerbread man, angel)
- Ribbon, twine, string, yarn
- Old wrapping paper scraps
- Old boxes/bags to put surprise gifts into
- A big box to take everything home with them and keep surprises from mom
- Perler beads and pegboards; ribbon or string; iron and wax paper or the paper that comes with the “melty” beads. Here's a Christmas set.
- Shrinky Dink kit
- Old frames which can be repurposed/decorated or used to frame new masterpieces
- Camera phone, computer and printer
- Pipe cleaners
- Pompons (sparkly or otherwise– red is great to have for “Rudolph’s nose” on cards or ornaments
- Clothespins
- Googly eyes
- Strips of cardstock to make homemade bookmarks
- Jingle bells
- Paper plates, styrofoam cups, plain paper cups
- Clear plastic bulb ornaments
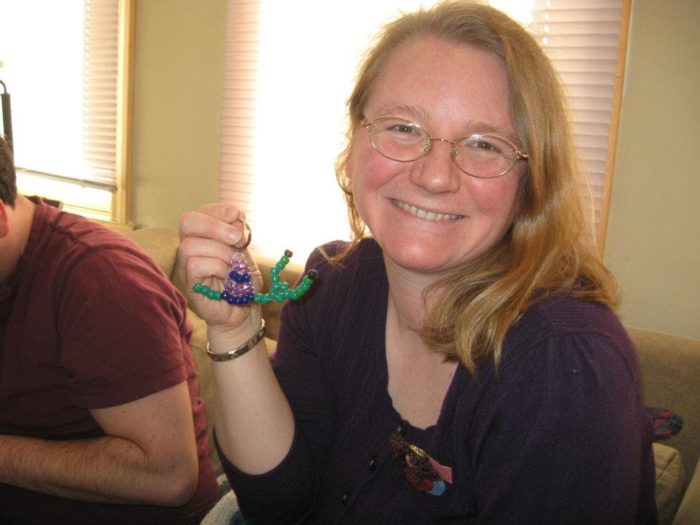
- Regular craft beads, wire, keyrings, and you could make projects like this one my kid made me one Christmas:
Download a Free Camp Planning Guide here:
Additional Ideas: Projects to purchase for your Crafty Kids Christmas Camp
Make your own art calendars
I think I found these at Michaels one year. I know you can buy make-your-own art calendars online here.
Make your own mugs kits
They used to sell the ones where kids could insert their own art or colored picture into a plastic casing mug. Oriental Trading sells sets of 12 mugs like that. The latest craze is “baking” Sharpie marker onto ceramic mugs.
Simple sewing kits
Fun simple sewing kits like these would be great for kids who are slightly older: Christmas finger puppet kit or Elf sewing craft kit. I would pick whatever was on sale and cute.
Foam stickers and ornament kits
Get Foam stickers and ornament kits when they are on sale! The kids love them.
Wooden frames to fill with a photo
Oriental Trading has wooden frames that kids can decorate or paint and then fill with a photo or artwork. I always did at least one of these photo frame kits for my Crafty Kids Christmas Camp. I printed out a photo of each kid taken in front of my Christmas tree so they could have it as a decoration or ornament.
Sites for other ideas using things you likely have around the house!
- Christmas Crafts for Kids
- 10 Easy Christmas Crafts for Kids (the elf craft is similar to the carolers I mentioned above)
- Christmas Crafts for Preschoolers and Toddlers (great for younger kids!)
- 200+ Christmas Crafts Activities
I'd love to know if you decide to use some of these ideas for a Crafty Kids Christmas Camp of your own! Please leave a comment below.
Have a fun and Merry Christmas camp for kids!!
**From Gena: When my four oldest kids were little, they attended a Crafty Kids Christmas Camp of Michelle's! I remember that my 5th child wasn't old enough. When his little sister was taking a nap, I said to him, “Isn't it nice just to be you and me?” And, he said, “I miss my kids!”
Bio of Guest Contributor
Michelle Habrych has taught art camps in her home for over a decade. She is the homeschool mother of two, ages 19 & 17. Kids’ Christmas crafts hold a special place in her heart, especially since her kids have grown up.
Related Posts:
- Christmas Tree Handprint Ornament Craft
- Scrabble Tile Christmas Ornament
- Step-By-Step Plan for Organizing a Holiday Craft Fair
- Homeschool Enrichment Ideas for the Christmas Season

