Rag Quilt Potholder sewing kit
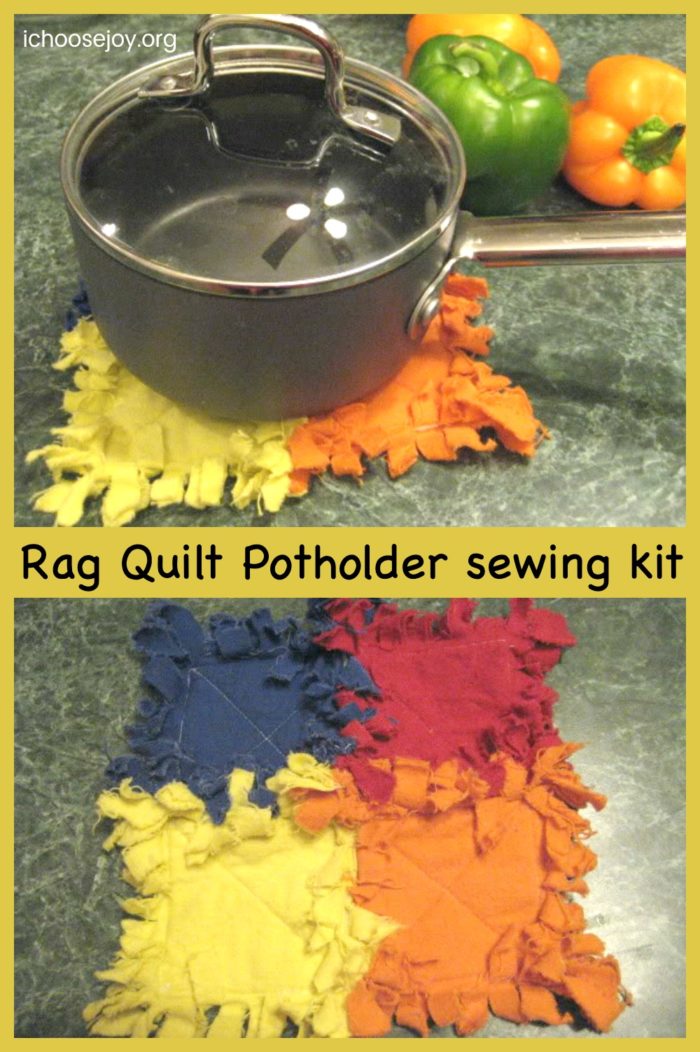
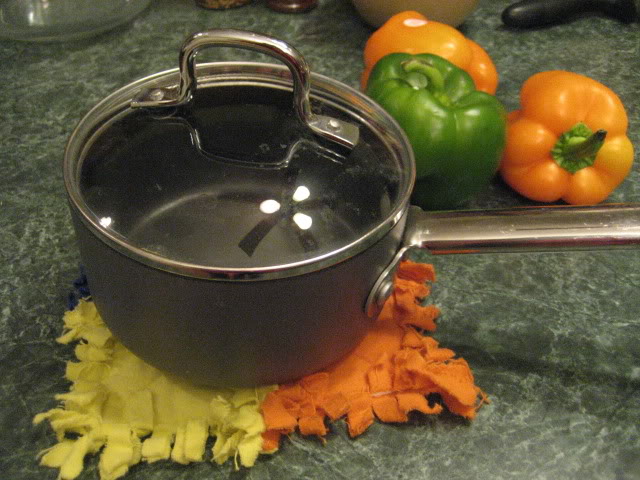
I joined another Busy Bag Swap, actually, two of them! So, I'll be sharing lots of ideas in the coming weeks. Here is the activity I included in the Elementary Craft Bag swap: How to sew a Rag Quilt Potholder. See below for the instructions that were included. These Rag Quilt Potholder sewing kits would also be great to make for Christmas presents, to include in a travel bag, or to keep those hands busy during read-aloud time!
Disclosure: Affiliate links are included in this post.
Instructions for Rag Quilt Potholder sewing kit:
**If you decide to reprint these instructions for anyone, please include my website ichoosejoy.org Thanks!
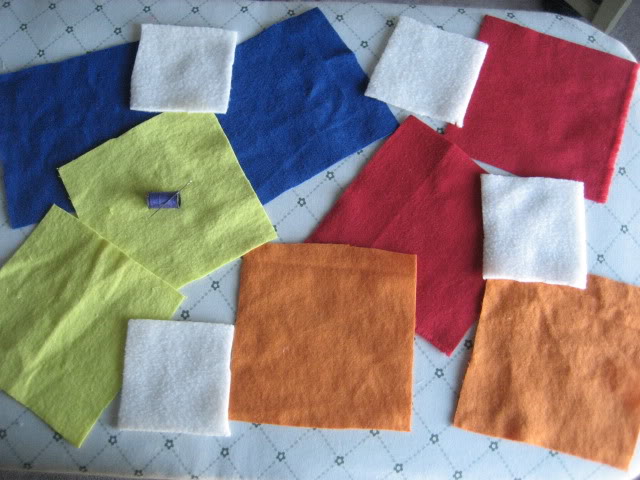
Supplies contained in your kit:
- 8 pieces of flannel (5” x 5”)
- 4 pieces of fleece (3” x 3”)
- spool of thread
- needle
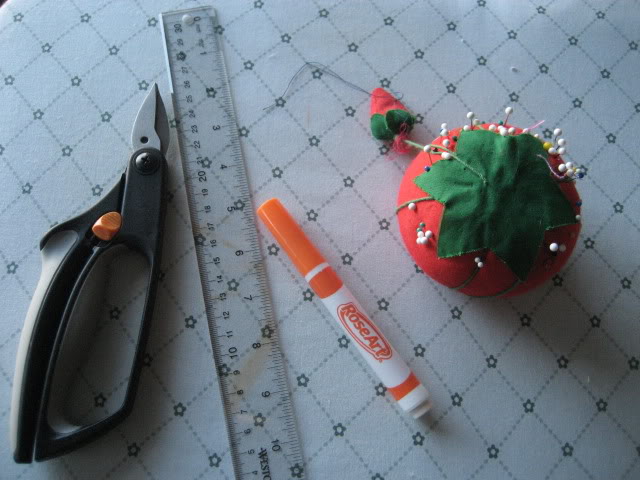
You supply:
- scissors (rag quilt scissors are great for this project)
- straight pins
- washable pencil or marker
- ruler
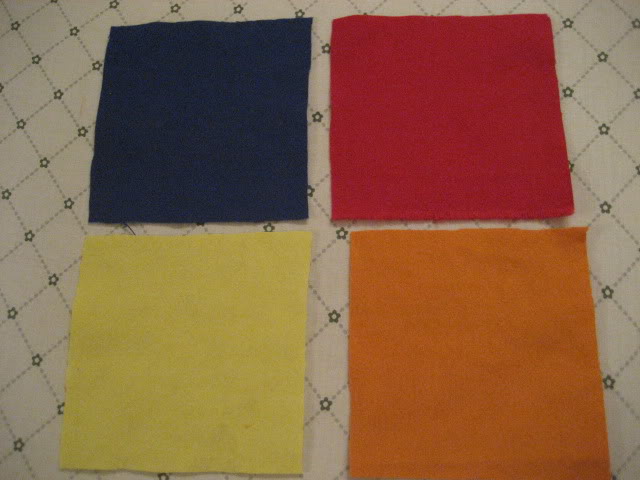
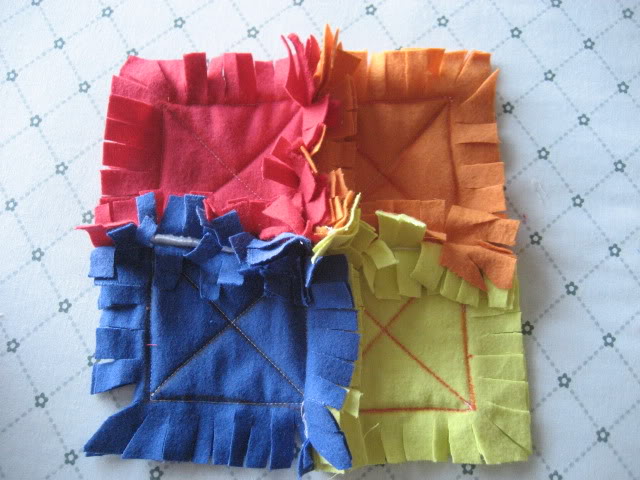
1. Lay your flannel pieces out and decide where you want each color to go–four colors on top and four on the bottom.
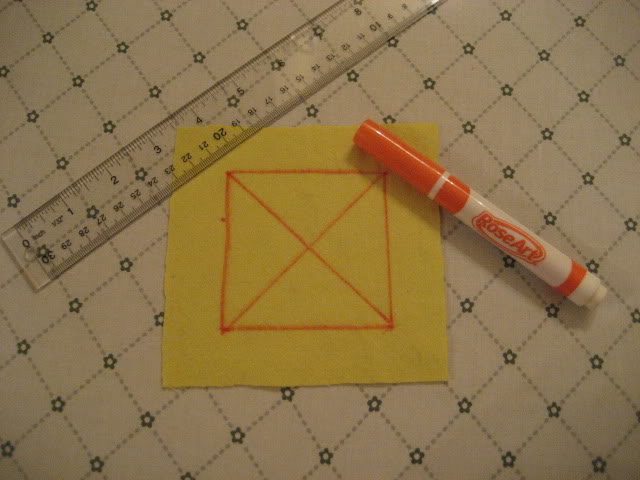
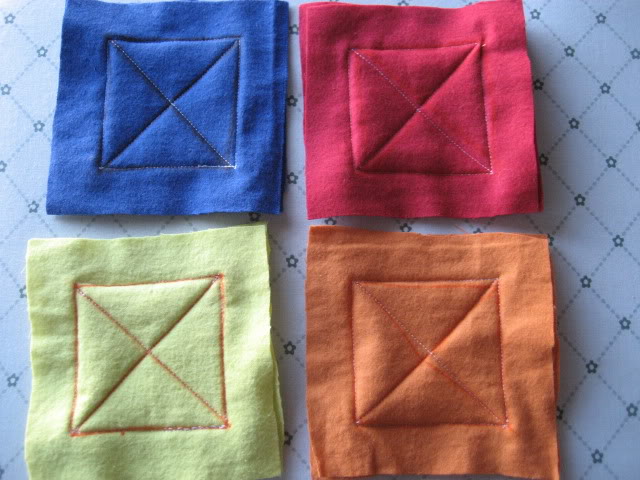
2. Take the top four pieces of flannel and draw with your washable pencil or marker a square one inch in on all sides and an “x” across the square.
This will be the sewing line.
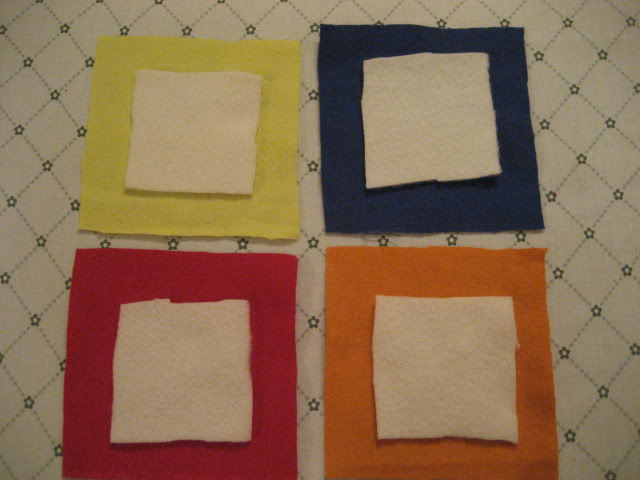
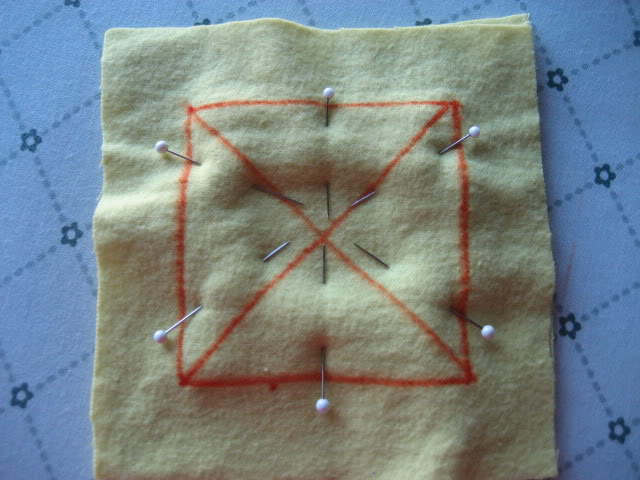
3. Layer the pieces with flannel on the bottom, then fleece square right in the center, and topped with the flannel that has the markings on it. Pin it.
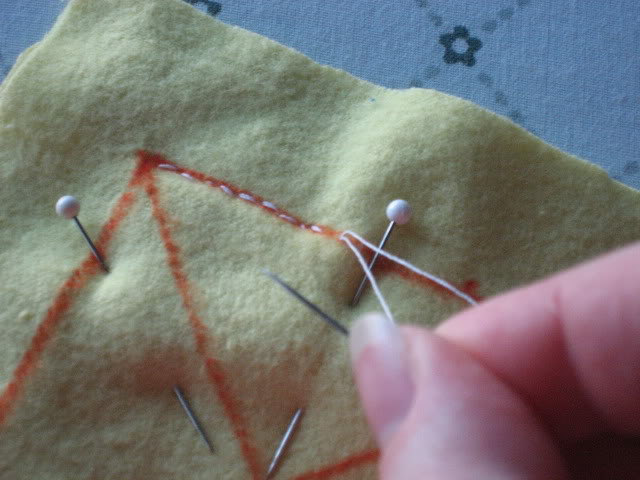
4. Sew together all 3 pieces on the sewing line. The fleece should be just inside the sewn square, but will be held in place by the “x.”
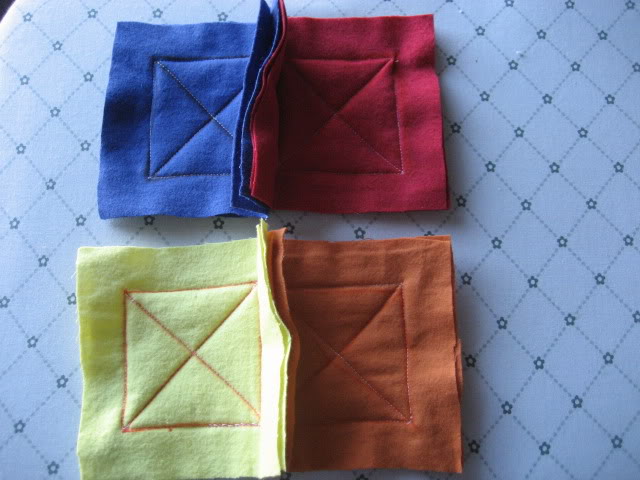
5. After you have 4 pieces sewn, you’ll attach those to each other. Sew them on the sides first and then the top two pieces to the bottom two pieces. **For this style you are sewing “backwards” and allowing the seam allowance to show on top.
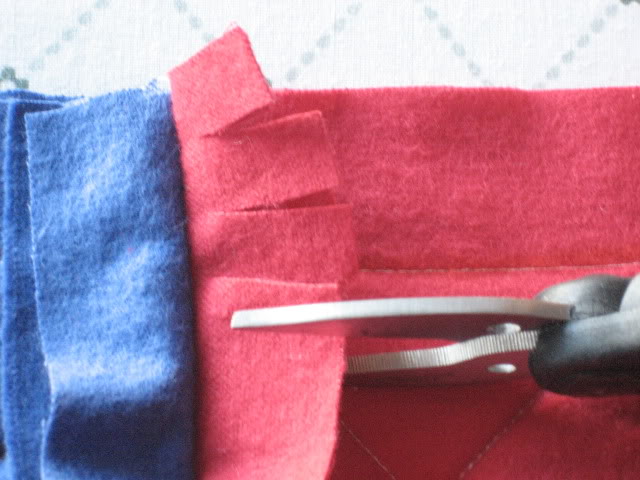
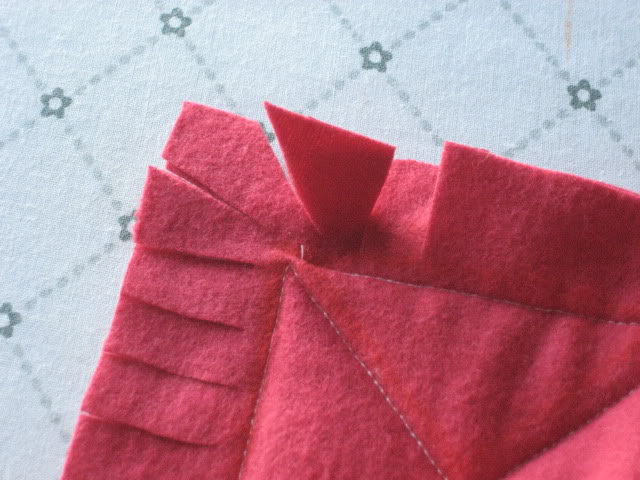
6. Cut each seam allowance in half-inch strips. Be careful not to cut all the way to the sewing line.
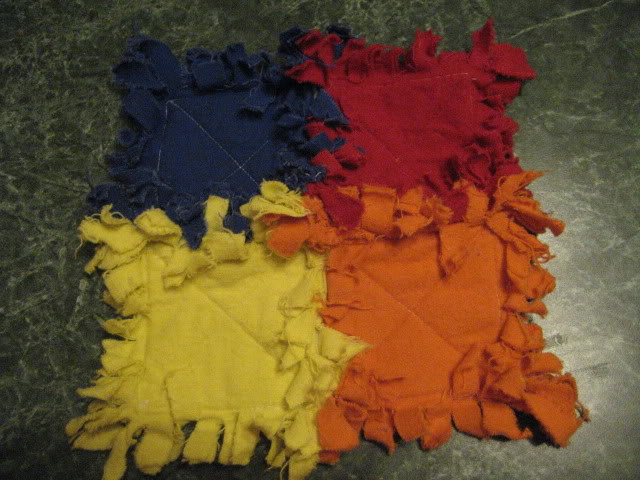
7. Wash and dry your potholder so that it will get the “rag quilt” look.





I love that this is a totally manageable project! I always get extravagant ideas in my head and then get dissuaded from actually doing them, but this really seems doable and a great beginner project for kids! I hope you are having a great start to the Christmas season!
This is a wonderful tutorial! Thanks for linking up with us at The Wise Wife!